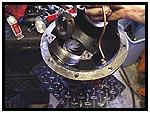
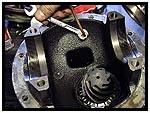
 We fit the tube and seal housing in its approximate finished location and then gently bent it out of the way so we could fir the carrier into place. When you look around inside the empty case, you can find a couple of other places you could mount the air tube bulkhead body. I took a look at least two where we wouldn’t have to drill the case.
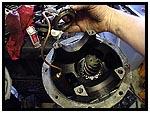
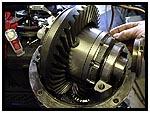 But neither of the locations allowed enough clearance between the ring and the case for the line to go between with a margin of safety. So when all else fails… follow the directions from the carrier manufacturer (which, by the way, was very well laid out and detailed. Thanks ARB). With the air line out of the way, the carrier goes back into place (to stay this time).
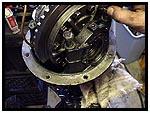
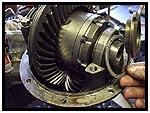 The easy part is the ring side of the differential. We just reassembled it exactly the reverse of its disassembly. Don’t lock down the bearing cap bolts until you are done with backlash adjustments later. The other side gets a bit trickier because it has to house an airtight seal for the locker. It starts with a small clamping plate that has been tapped for three allen screws.
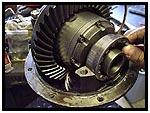
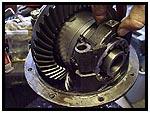 Next came the adjustment ring. Notice that it looks a little different than the stock unit. Be careful when working around the extended bearing journal because it has to be perfectly smooth and scratch free to keep the seal air tight. Next we installed the bearing cap bolts, but, like the other side we kept it loose enough to make the backlash adjustments needed.
 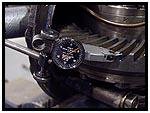 *NOTE* Backlash is measured with a dial indicator. The pinion must be immobilized (held perfectly still) and then the dial indicator is used to measure the amount of movement the ring gear still has. The Factory Service Manual says the measurement should be between 0.004 and 0.006 inches. The adjustment is controlled by running in one adjuster ring and running out the opposite adjuster equally. Turning the adjuster one notch changes the backlash by about 0.002 inches.
08/11/2010