
ARB Track/Kick Rear Air Locker Project Sidewinder/ARB part 2 with Bill Johnston
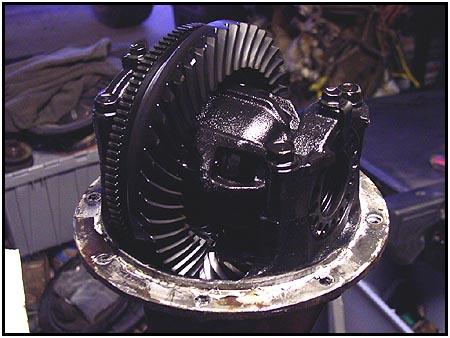 As Track/Kick owners have noticed, the number of aftermarket traction aids available for the larger rear third member is rising. With the growing number of hybrid rear axles available for the Samurai, this makes the Sammy owners ears perk up as well. We prepared this Tracker differential, stuffed with factory 5.12 gears, for the Sidewinder/ARB project we started last month.
ARB has an air locker to fit both ring and pinion combinations that are found in the rear diffs from 1988 and up. From 1988 to 1993 Suzuki used a 10 bolt ring, this uses ARBs RD74 model. In 1993, Suzuki started putting a 12 bolt model into the rear differential. This is what we were working with, so ARB supplied the RD79 model for this installation. Both flavors of ring gear were used in 1993, so if you have any question as to what you have, there is a quick way to find out without pulling the whole thing apart.
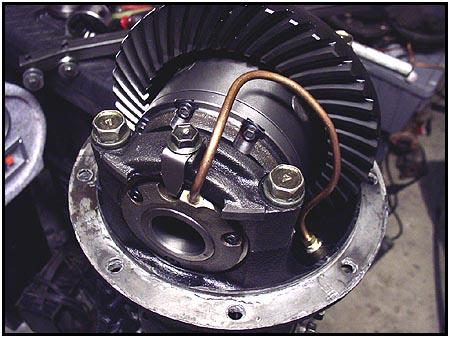 On the drivers side of the differential, there is a speed sensor that is held in with a 12mm bolt. Remove the sensor and look inside with a flashlight. Mark the first bolt head you see with a marking pen and then rotate the pinion. Count the bolts as they go by… Of course this is easier when the axle is out and in the shop, common sense says that you don’t try this on the vehicle with the tires on the ground.
*Also Note that in some Asian countries, the Dana 30 axles were used starting in 1993…
Let me start by saying that if you are not comfortable with working on your own gearing, this is probably not the place to start unless you have someone with a little experience showing you how. If you don’t set the backlash correctly, or you end up with spare parts… it will get expensive fast.

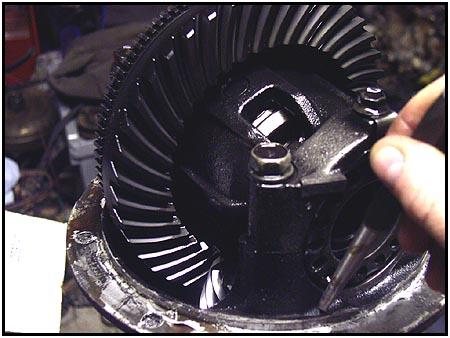 That said, we started with the third member bolted to the workbench. Before disassembly, we marked the bearing caps with a punch and then marked the third member casing to match. One dot for the left side and two dots for the right.
 Next we removed the caps and set them aside. Notice the cool tool I used to hold everything steady… I found that a birfield stub has 26 splines, just like the rear axle. I keep two grenaded birfield stubs with my ‘specialty’ tools for working with rear differentials. They are easy to hold onto and they allow you to easily turn the splines on the bench. Next we just lift the carrier out of the casing and move the casing to the floor.
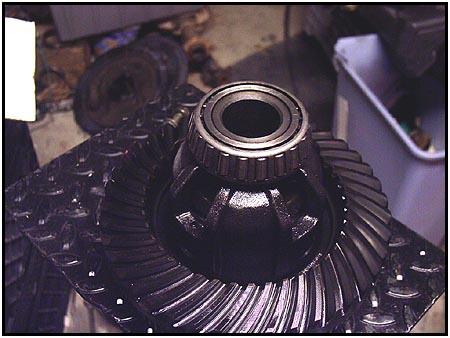
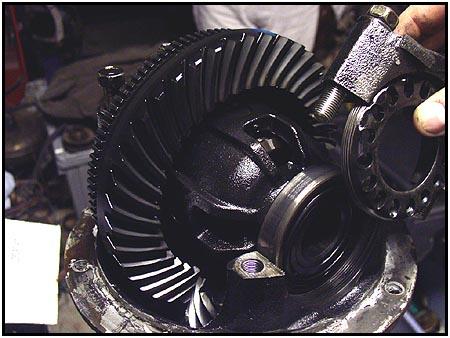
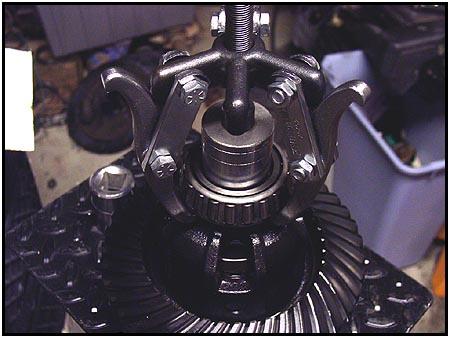 The bearings on this carrier were in excellent shape, so we decided to reuse them. We removed them easily using a bearing puller. Make sure you get the ends of the arms all the way under the center portion of the bearing or you could just rip the outer cage off – thus destroying the bearing.
 Flip the carrier over and repeat the procedure on the other bearing. Here you can see the 12 bolts holding the ring on the carrier. You can also see the teeth that the speed sensor (mentioned above) counts in the photo to the right. After reassembly, you will no longer have those teeth to worry about.
08/11/2010