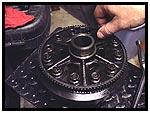
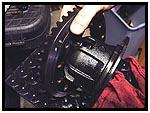
 Next we remove the ring gear bolts and carefully remove the ring gear, setting it aside.
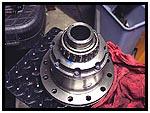
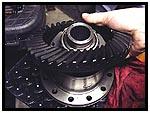 Now we turn our attention to the ARB Air Locker. You will notice when you press the bearings back on that one of the bearing journals is longer than the other. This is the way they get the air into the center of the carrier… The journal is plumbed to move air from a seal housing on the longer section – into the heart of the carrier. This is the side that should be facing up when you put the ring gear back on.
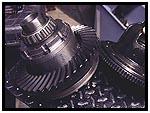
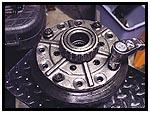 Looking closer at the new carrier, you will notice that the flange thickness is as thick as the old carrier (with the speed sensor gear). Since you will be using the new carrier, the sensor gear will not be a part of the assembly. Tighten the bolts in a cross pattern and finish up with a torque wrench.
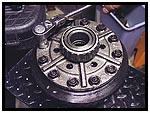
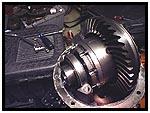 The Factory Service Manual recommends that the ring gear (aka – drive bevel gear) bolts get torqued to 58-66 ft-lbs.
Next you have to find the best location for the air line to enter the case. The key is to keep it away from the gears, but still make sure it clears the axle housing when the third member reinstalled.
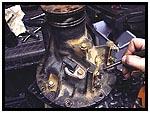
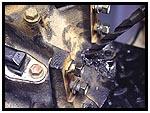 After marking the best location with a punch, we drilled a pilot hole and then followed it up with the 7/16″ drill bit for a final hole.
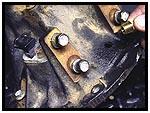
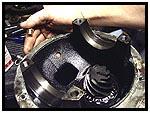 You can see the final location once we cleaned up the hole. This is going to accommodate a 1/4″ NPT fitting, so the next step is to tap it with the correct type of tap. This is a thin section of the case, so you don’t want to have to do this twice and run the risk of making the hole too large.
08/11/2010