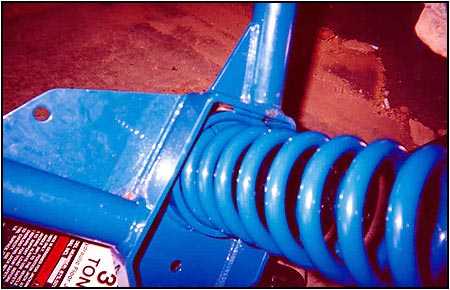
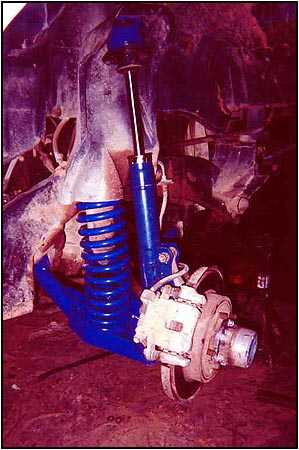
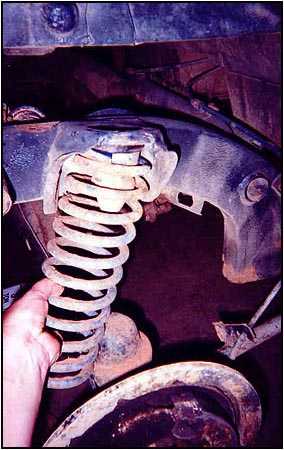
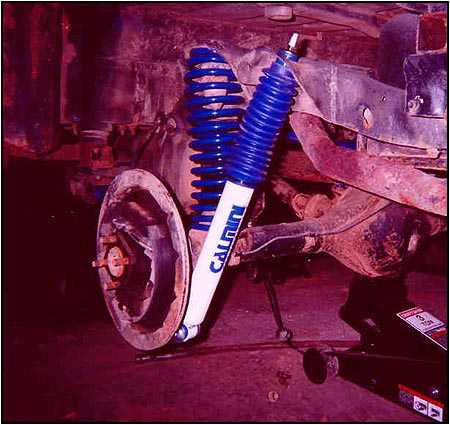
 15- Install the new Calmini strut spacer to the new Calmini strut using the supplied 5/16″ hardware and install the complete strut assembly to the strut tower and let hang (pic 14-15). 16- Attach the new Calmini control arms to the frame using the factory hardware. At this time only hand tighten the hard ware to allow for easier assembly. Make sure that the tie-rod is above the control arms. 17- Install the new front coil springs into the control arm cup and upper spring mount. The front springs are the shorter two of the new springs. Be sure that the smaller (tapered) end is in the upward position and that the bottom end of the spring is correctly placed in the positioning groove of the control arm. Use a floor jack to compress the spring until the ball joint mount can be attached to THE TOP of the new control arm (pic 16). 18- Install the hub assembly to the control arm with the factory ball joint bolts (3 on each side) 19- Attach the hub assembly to the strut, with the two factory lower strut bolts. Be sure to slide the passenger side half shaft into the differential housing before you attach the strut. Re-attach the driver’s side half shaft. 20- Torque control arm bolts, ball joint bolts and lower strut bolts to 50-75 lb/ft.
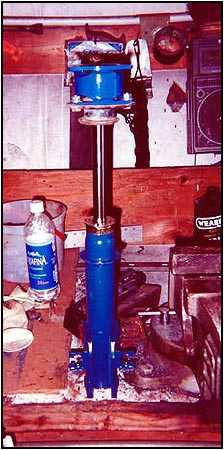

 Now it’s time to begin on the rear or the vehicle. Make sure that the vehicle is still safely supported by the jack stands and use a floor jack to slightly raise the rear axle (pic 18). 1- Remove the small tension spring from the brake proportioning valve (on non-ABS models)(pic 19). 2- Remove the factory rear brake line and replace it with the supplied braided brake line. Note: Due to the extra axle drop allowed by this lift kit you may want to extend your differential vent tube. I replaced mine with a 4″ longer than stock tube. 3- Remove the rear shocks and save the hardware. 4- Remove the rear springs by pulling down on each side of the axle until they are loose. (pic 20)
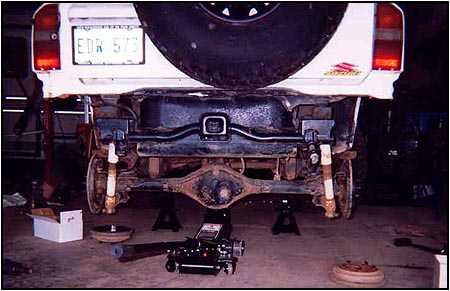

 5- Remove the rear trailing arms one at a time and replace with the new Calmini trailing arms leaving the mounting hardware hand tight (pic 21-22). Note: the bushings and sleeves must be assembled into the trailing arms. Be sure to use the supplied assembly lube or a lithium grease when inserting the bushings and sleeves to eliminate suspension squeaks. 6- Attach the parking brake cables to the tabs on the new trailing arms.
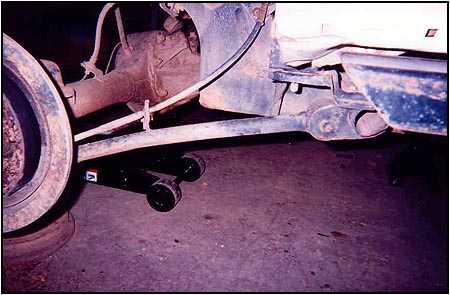
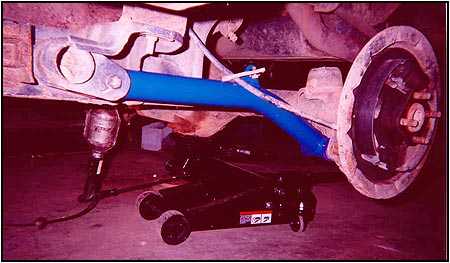 7- Remove the upper control arm by first removing the mounting bolts attaching it to the differential carrier and then removing the bolts attaching it to the cross brace of the frame (pic 23-24). Keep the factory hardware for re-assembly.
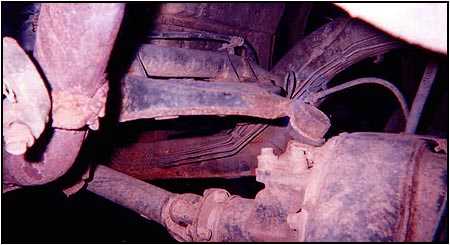
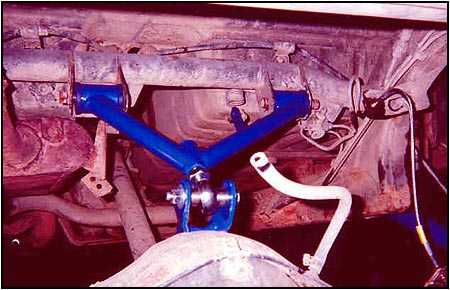
 8- Assemble the new Calmini V-Bar. Install the rod end and 3/4×16 half nut into the Calmini V-bar and insert the bushings and sleeves using an assembly lube or lithium grease (pic 25). 9- Install the new Calmini V-Bar (pic 26). Using the factory hardware, attach the V-Bar to the cross brace and leave the hardware hand tight. Attach the proportioning valve spring to the V-Bar tab and attach the differential carrier bracket to the differential using the supplied 10mm x25mm x1.25 bolts and lock washers (torque 10mm bolts to 43 lb/ft)
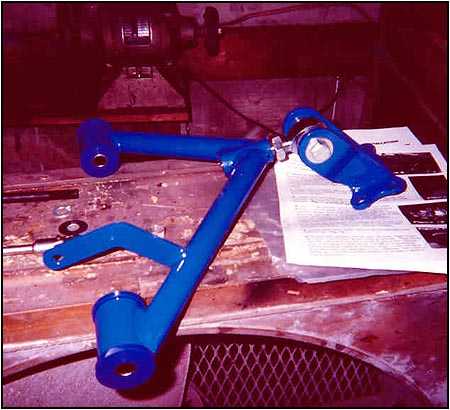
 10- Install the new rear coil springs with the pig tail end in the up position. Make sure that the coil springs are properly seated in their mounts (pic 27). 11- Grind off the bottom edge (approx. 1″) of the lower shock mount, to allow the larger rear shocks to clear the bracket. If you do not grind off the lower mount it will damage the shock. 12- Install the new Calmini rear shocks and boots (pic 28).
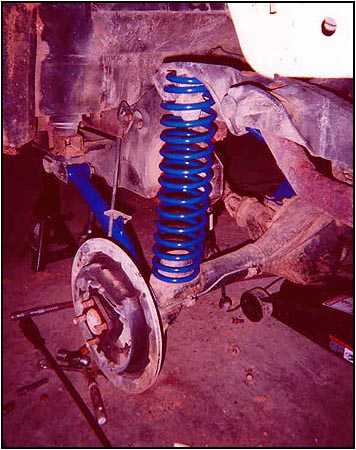
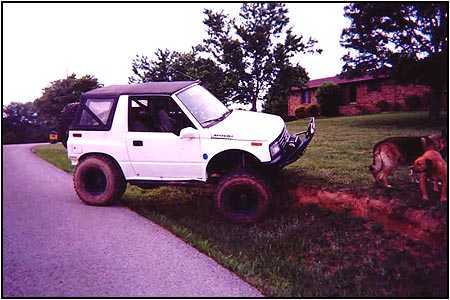
 13- Tighten and check all rear end hard ware. (trailing arms, V-Bar, shocks). Tighten the 3/4 x 16 rod end half nut to approximately 75 lb/ft. 14- Install the supplied drive shaft spacer to the flange near the rear differential. 15- Install your new larger wheel and tire combo and lower the vehicle off of the jack stands. Bleed rear brakes, have the front end aligned, and enjoy your new ground clearance. It is good to ramp all four corners of the vehicle on a RTI ramp or in a ditch to fully cycle all four corners of the vehicle to seat-in the suspension (pic 29-31).
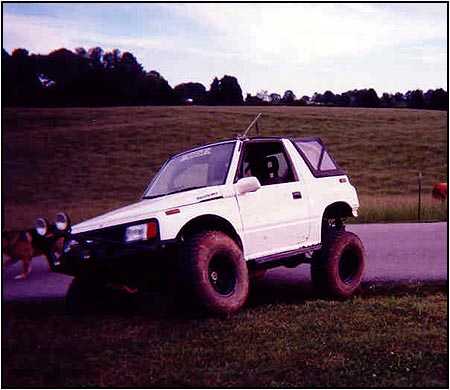

 100 Mile Check Up: After 100 miles of use or after your first good trail ride (which ever comes first), be sure to check and re-torque all suspension components. You may have to re-adjust the adjustable rod end on the Calmini V-Bar to correct drive line angles (The angle of the drive shaft coming out of the trans. should be the same as the angle going into the rear diff.). After 300 miles and a weekend in Tellico, I started feeling a drive shaft vibration. This was caused by the settling of the springs causing an improper drive shaft angle. A quick adjustment of the V-Bar fixed the vibration. I have put 600 road miles and 5 trail miles on my Kick in the last week and have enjoyed every minute of it. Well, except for the 5th trail mile when I ripped apart a CV that I attempted to re-build with parts before the trip (yea I know, dumb idea). I just picked up my new half shaft and I have a trail ride planed for the Memorial day weekend, so be sure to check back next month for the trail test of my new Calmini 3″ suspension system.
08/11/10 16:43
[tech/footer.htm]