 With Scott Rossow
Time for Bumpstops
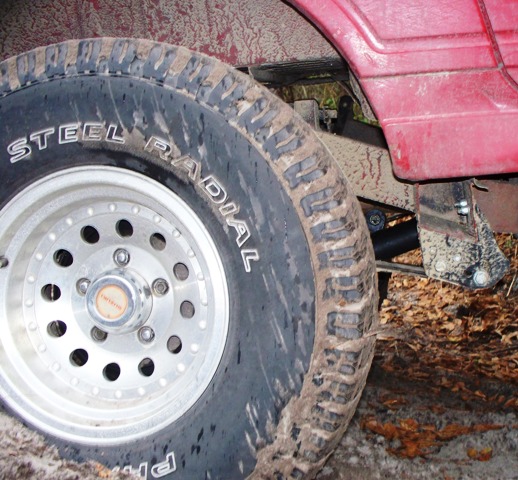 When you install YJ springs on a Zuk you need bumpstops. The YJ springs are so flexy that they invert and damage to springs. Also, if you have shock hoops the tire will rub on both the hoop and the shock. Then there are the fenders to worry about.
 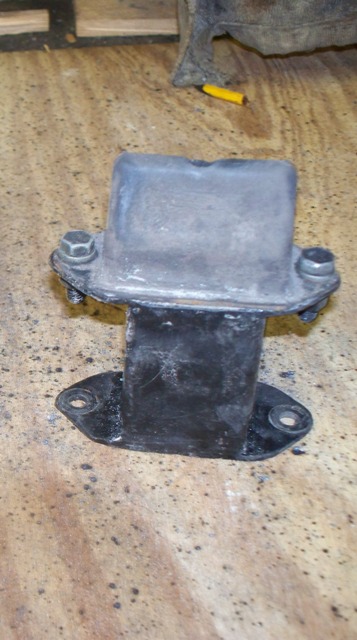 Stock Zuks have bumpstops; they mount at the frame and probably work perfectly. It has been so long since I had any on my tintop that I dont even remember what they looked like. Bumpstops didnt really matter with the overly stiff spring pack that I was using before the YJs. There was no way in the world those springs were ever going to invertor flex much either for that matter, but now I need to fab up some new ones. I measured the distance between the axle and the frame and said to myself No problem. Little did I know the aggravation I was getting in to. The length and placement has to be figured out so that they will work correctly. I had 8 between the axle and the frame in the front so I figured that one half that would be about right. I dug through the spare parts bucket and found not one, but two sets of stock front stops. I took that as a good sign, everything I needed right there at hand. The stock ones were 2 tall and had bolt holes and everything. Next, I dug through the scrap metal pile and found some flat stock and some 2 square tube. I cut a 2 long piece of the tube and then traced the mounting part of the stock bumpstop onto the flat plate twice and cut out two pieces, one for the top and one for the bottom. Then I drilled mounting holes in both to match the stock stop and finally I welded them both to the piece of tube. Then I bolted the stock stop onto my new bumpstop. Looked pretty good, so good I made another one, no test mounting or anything. When they were both made and painted I took them out to the zuk to mount them up to see how great they were going to work.
 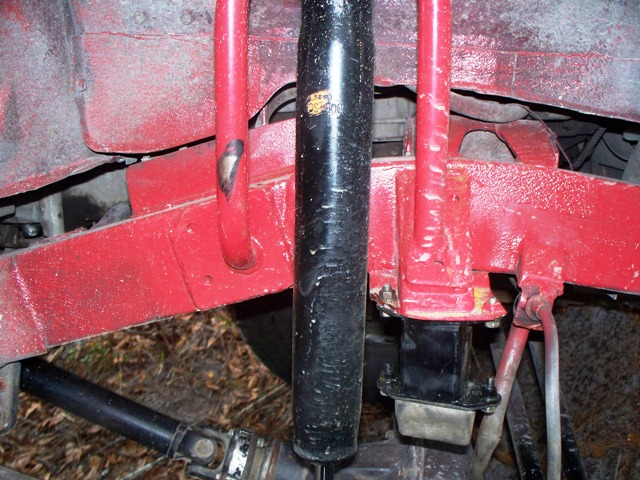 This is where the cussing started. When I mounted the long travel shocks last month I trimmed a very little bit of the bumpstop mount to clearance the shock body. Unfortunately that very little bit was where one of the original bolt holes was. Since it did not really look like it was going to line up bolted on like that anyway I turned it about 45 degrees and drilled a new hole and then bolted it in place. Time for a test drive into my favorite ditch. Well, 4 inches was too darn short, everything still rubbed, I mean everything, the tire was on the shock and mount and the bumpstop was not even touching the axle yet. And from the looks of it, even if the bumpstop did reach it would be in the wrong place on the axle. It would be hitting the outside u-bolt on the backside, not centered up like I would want.
  I had two problems to figure out. First, it had to be longer if it was going to work and second the stock mounting point was way wrong because of axle re-location from the YJ install. I did what I should have done originally and jumped on-line to see what everyone else was doing. It seems that 3 inches was a better distance between the axle and the bumpstop. It also seems that most of the time the bumpstops were being welded either to the frame or, more often to the top plate holding the spring to the axle. I am not confident enough in my welding abilities to weld to the frame yet and there was no way I was welding anything to my still shiny new Sky top plates
 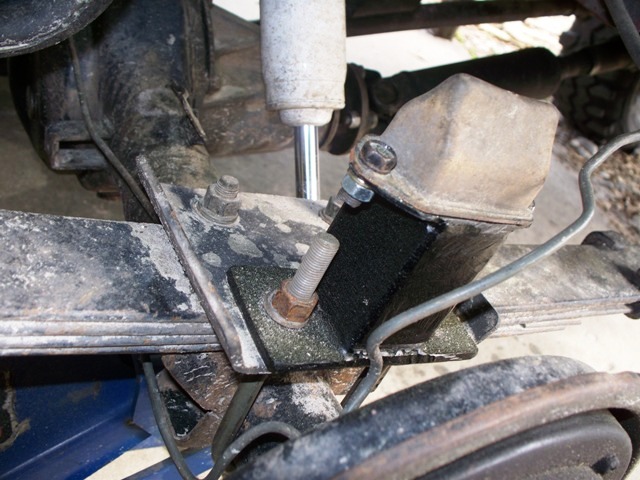 I pulled the front wheel off to look everything over. Holding my too short first attempt in different places I observed that the rear of the u-bolts were in about the right place to mount the stop. So I re-sized the two mounting holes to fit over the u-bolts and bolted it to the axle. Problem one solved, now it was going to line up with the axle frame just about right. Next, to deal with the length I went back to the scrap pile and pulled out some flat stock 2 inches wide and a half inch thick. I used the factory bumpstop again to mark it in the right shape and then cut it out and drilled the mounting holes. 4.5 inches long and in the right place. Its going to work this time so back to the ditch!
 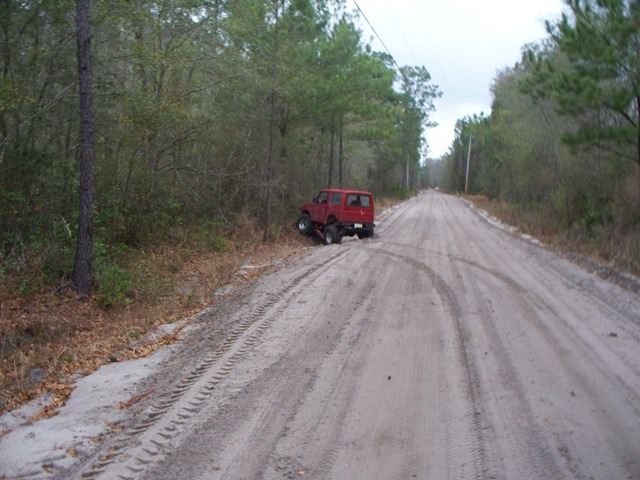 All new cuss words this time. It still rubbed in all the wrong places, but at least when the bumpstops almost hit the frame they were in the right place. Time to make them longer…again. For a simple task this was taking way too long. I kept telling myself any job worth doing and all that. I dragged the half inch stock back out and cut two more pieces, this time to go under the bumpstop, I drilled holes for the u-bolts and bolted everything back together. The current setup was, from the bottom: spring plate, inch spacer, 2 of tube, 1/2 spacer, rubber stock bumpstop, for a total of 5 of bumpstop leaving only 3 of space between the stop and the axle. Back to the ditch.
  ALL NEW CUSSWORDS! It was still hitting on the shock hoop mount and the shock. Time to re-think this mess all together because the 5 inch bumpstop should be all the bumpstop I need, why was it still hitting? I was starting to think I needed wheel spacers to push the wheels out further when the light finally dawned on me, an epiphany of sorts! I was doing all this fabbing and testing with my 33×12.50 ATs and 15×8 aluminum rims, with 4 inches of back spacing. The rubbing had been so severe with the smooth sided street tires that I had been hesitant to put the swampers on because I just knew one of the oversized lugs was going to grab the shock mount and blow up a birfield.
 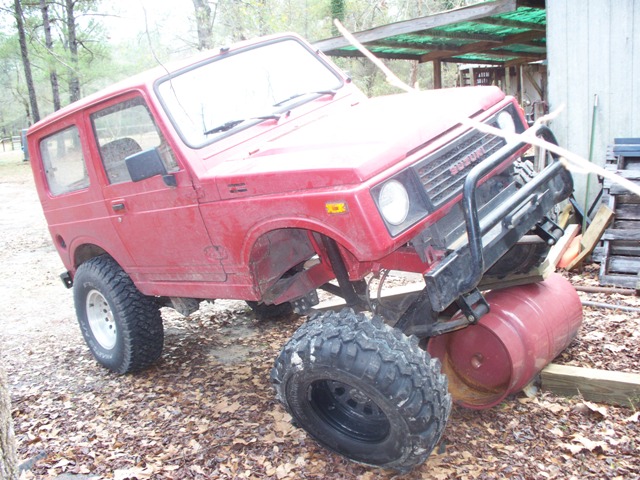 Now that the bumpstops were in place I put the 33×13.50 swampers and headed back to the ditch. EUREKA! The tire barely touched the shock when fully stuffed into the wheel well after I drove it into the ditch. Success! I guess the 15×8 rim with only 2.5 inches of backspacing made all the difference. I sure wish I had thought of it earlier.
  After all that experimenting with locations and sizes it was easy to make the rear bumpstops. I measured and cut the pieces out of the same material as the fronts, drilled the holes and bolted them in place. One build, one test ride and everything was just right. No more inverted springs, no more rubbing in the wrong places. Bumpstops are a good thing, once you figure them out.
 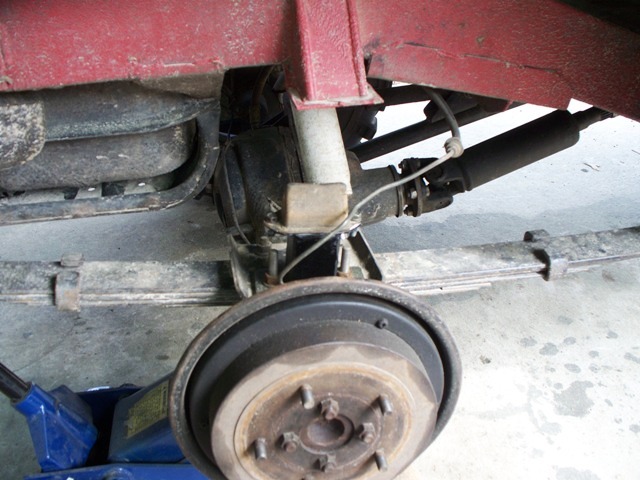 The good news is the bumpstops are built, mounted and working perfectly. The bad news: I saw that my front driveshaft was seriously hitting on the transmission mount cross member and that my rear brake line was way too short. Tune in next month and find out how I fixed this one. Hopefully I will know by then
08/11/10 15:24