 with “NitroMax”
Brake Caliper OverhaulPage 1
If – like me – you do a lot of Offroading you know how important it is to maintain your vehicle every time you’ve been in the mud. You also know how hard it sometimes is to find the time or – after a long day of concentrated driving - find the spirit to get up off that couch and start cleaning your Zook.
Well, rest assured: some day your Zook will let you know you should have done something a long time ago !
I had mine pulling hard to the left while driving and pulling hard right under braking, so I knew there was something wrong with the brakes. As if I didn’t realize that: there was a lot of smoke coming from the left fender well and when I stopped and touched the centre of the wheel I almost burnt my hand………………..yes, time to ride back slowly to the garage and get too it!
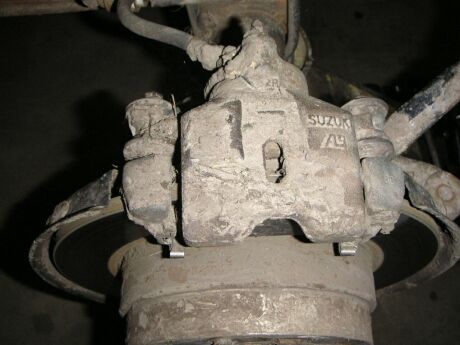 When you pull the wheel and you’ve been neglecting your cleaning like me, you’ll probably find something along the lines of the picture, alot of mud on parts that are meant to slide.
Not good !
Take a wire brush and clean off all the dirt, taking care not to damage the brake line or the rubber caliper guide pin caps on the bolts!
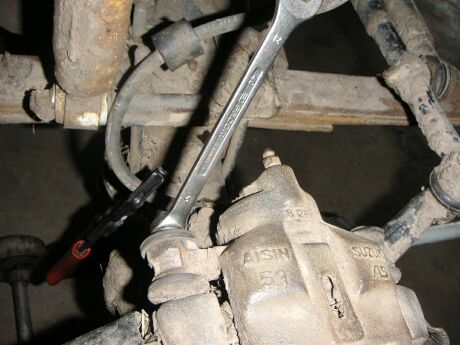
Put a clamp on the brake line, preventing the brake fluid from spilling all over your work floor ( you’ll loose some fluid anyway so have some tissues or rags ready ) and loosen the Banjo-bolt that holds the brake line to the caliper. Don’t take it off yet, just loosen it half a turn. Unbolt both M6 bolts that hold the caliper and lift it. Might take some prying with a screwdriver. Try to hold the caliper with the hole in de back upward, so you won’t spill all the brake fluid from the caliper on your clothes. Empty it in a separate can which you deliver at the chemical waste station. Once the caliper is off, turn it a little and undo the Banjo-bolt.
The brake pads stay in the caliper body when you lift it out. Slide them out and check them for wear. There’s a deep grove right through the middle………………..well at least there should be. When it’s not there anymore or just slightly visible it might be the right time to put new brake pads in.
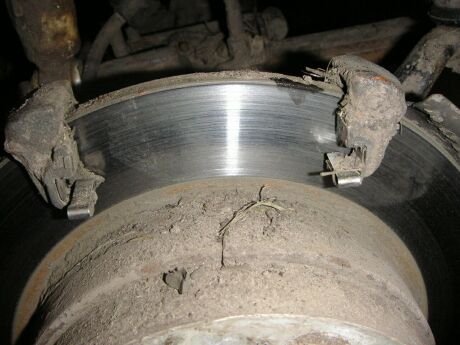
This is what you see when the brake pads are out. There are little Stainless Steel clips that hold the brake pads in the caliper. In this picture you can see there’s quite some dirt in and behind the clips.
They are easily removed with the tip of a small screwdriver, just don’t put any force on them for they might bend or worse: fly out and hit you in the eye.
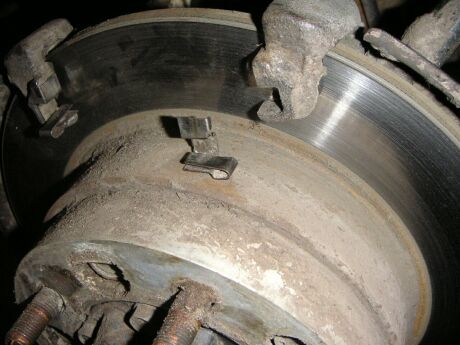
There are two clips on each side. Take them out and clean them with the wire brush. Then also clean the notch where they sit. Looking at the clip you can see there’s only one way they can be put back in.
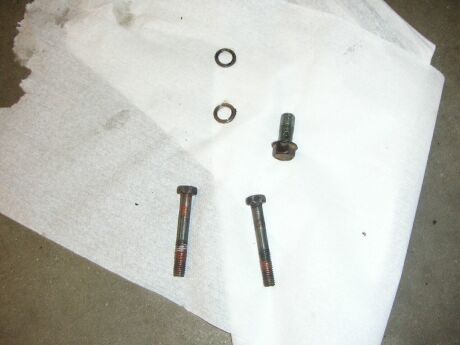
These are the bolts you’ve removed to get the caliper off. Clean them thoroughly and put them aside in a clean rag. Use a compressor gun to blow out the Banjo-bolt. Replace the rings for the Banjo-bolt every time you take the bolt out, you don’t want your brake lines to leak because you were too cheap to save money on these rings. Do not use just any ring, these are made from a special metal just for this application.
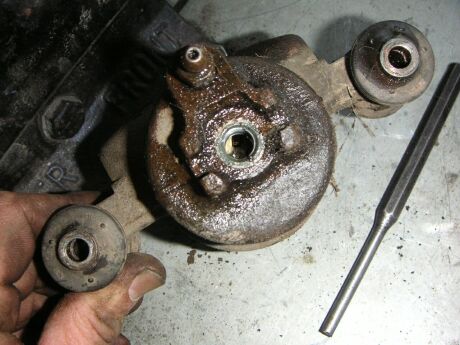 In this pic you see the rear of the caliper, where the Banjo-bolt goes, clean it with the tip of the screwdriver or a small wire brush. For once you don’t have to worry about dirt falling in, you’re taking the brake piston out anyway, so you can blow out any mud that has fallen in.
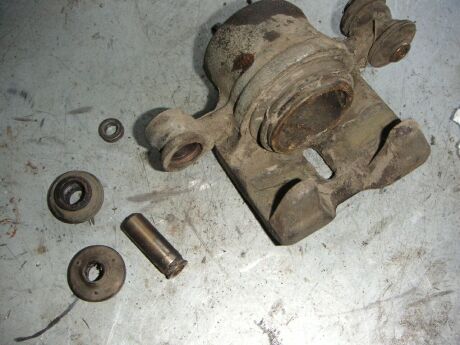
Here is the caliper on the (clean) workbench. I’ve taken out the caliper pins and the rubber bush dust boot taking care not to lose the small metal rings that sit on one side of the bush dust boots. Clean the rubber boot with brake cleaner and polish the caliper pins with a Brillo pad. Once they are clean check them for wear or damage and put them aside in a clean rag.
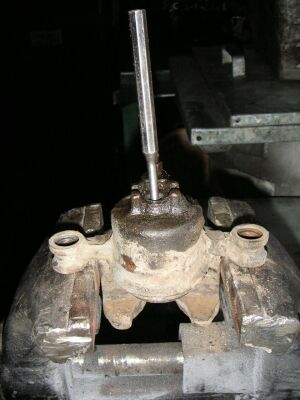
Time to tap the piston out using a punch. Don’t use one with a pointy end but one with a rather large surface, so not to damage the rear of the piston. Put the caliper in a vice, with the Banjo-bolt hole up. (do not over tighten the vice, it just needs to hold the caliper. When over tightened it might break the casing of the caliper).
Gently tap it, do not use force by big blows with a large hammer. It will come out eventually 😉
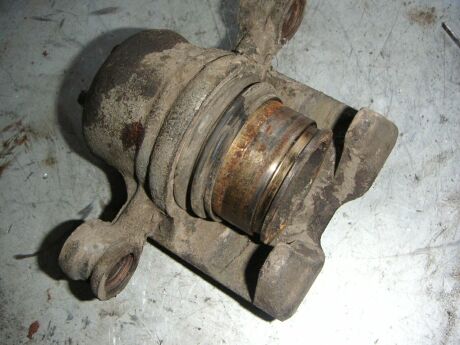
As you can imagine from this picture, the piston did not come out easy on this caliper. It’s also obvious why the brake got stuck :-O Oh well, good to see I’m not doing all this work for nothing.
08/11/10 15:00:25