
3″ Suspension System Installationwith Zig ‘Zukipilot’ Zeigler
Many Tracker and Sidekick owners quickly realize that the only major limitation to their 4×4 is the ride height. After only a few trips off-road I started looking for ways to get better ground clearance. I originally purchased the Calmini 2″ lift, and after many years of dependable performance, I upgraded to their new 3″ Suspension System.
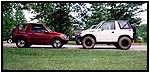 Stock 2″ Calmini Lift
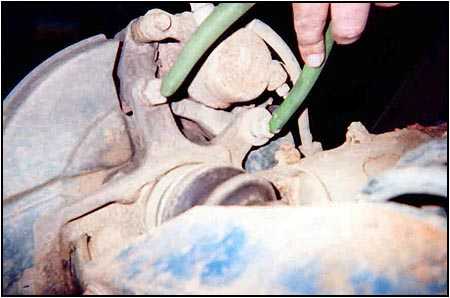
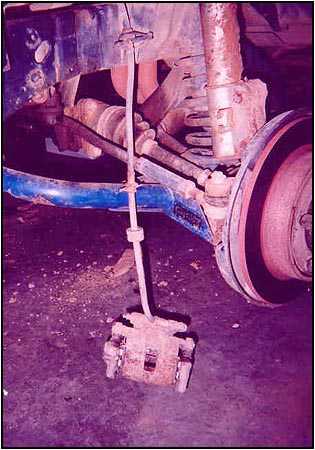
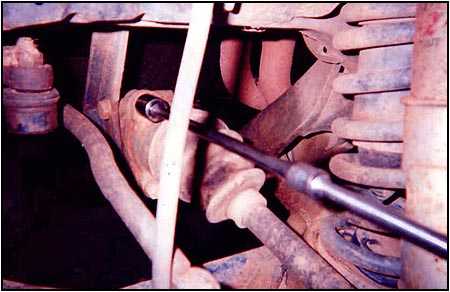
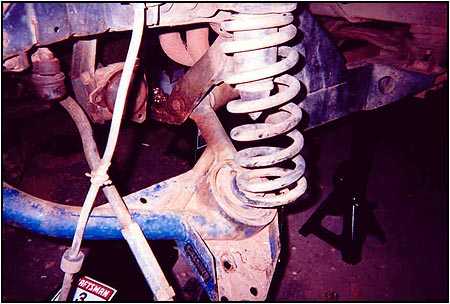
 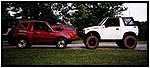 Stock 3″ Calmini Lift My Sidekick (in the pictures above) is equipped with the shown suspension lift and a 3″ Calmini body lift. A lot of body work was needed to fit the 33×12.50 BFG MT’s shown in the pictures, but with the 3″ suspension and 3″ body lift combo from Calmini you can fit 32’s on your Sidekick or Tracker. To begin the install raise the vehicle and support it with jack stands at a height that you can safely and comfortably work under, and remove the wheels. I began with the front of the vehicle: 1- Disconnect the front sway bar end links from the lower control arms and pivot the bar ends out of your way. (photo not included due to mine being removed) 2- Remove the lower break line clip (directly above the caliper) and pull the line out of the holding bracket (pic 1) (Note: DO NOT remove the brake line, it will only cause more work for you later). 3- Remove the brake caliper bolts from the back of the caliper and let the caliper hang from the brake line (pic 2&3)
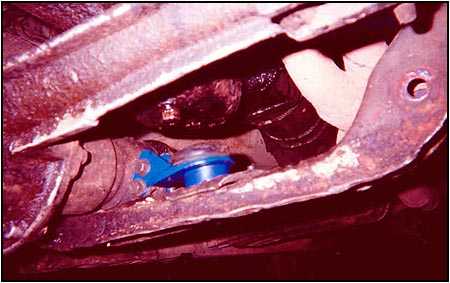
 4- Support the control arms with a jack stand and loosen (do not remove) the control arm pivot bolts that hold the control arms to the frame (pic4).(note: be sure to place the jack stands where they will not be in the way of steps 4-6) 5- Disconnect the half shafts from the differential. The drivers side is removed by the three bolts shown in picture 5. The passenger side is a pry-out design. Be sure not to damage the axle clip or the housing when prying the axle loose. 6- Remove the upper strut nuts. On factory vehicles, this is done by raising the hood and removing them from inside the engine compartment. On body lifted vehicles, the upper strut nuts can be reached from the wheel compartment (pic 6).


7- Disconnect the three bolts that attach the ball joint to the control arm and the two lower strut bolts. Save the hardware (pic 7).Let the Hub assembly hang from the vehicle. You may want to support it with a jack stand to keep it out of your way (note: be careful not to damage your passenger side axle seal as the half shaft slides out of the differential. 8- Use Caution during this step: Use a floor jack to support the control arms. Remove the jack stand that had been supporting the control arms and slowly lower the floor jack until the front springs can be removed (pic 8). 9- Remove the control arms. 
 10- Remove the bracket that holds the differential to the center cross member by removing the two bolts attaching the bracket to the differential and the two bolts holding the bracket to the frame. Save your hardware in this step to install the new bracket (pic 9). 11- Disassemble the bracket by removing the center bolt holding the factory bushings, cut the center sleeve to the width of the supplied Calmini bushing and re-assemble the bracket using the new Calmini bushing and bracket. The parts should be in this order (from bottom to top); Factory base that mounts to the cross member, new Calmini bushing w/ cut sleeve inside, new Calmini center link bracket that mounts to the differential, factory top bushing and cap. 12- Grind the rib off of the bottom of the differential housing (It will be contacting the cross member after you remove the bracket in step 9)(oops, forgot a picture). 13- Install the newly assembled bracket from step 10 (pic 10)
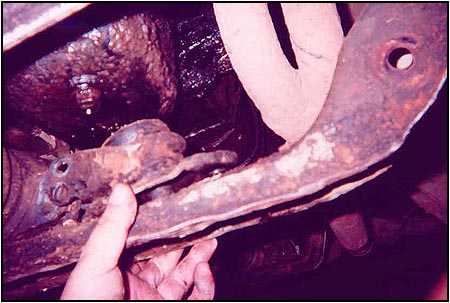
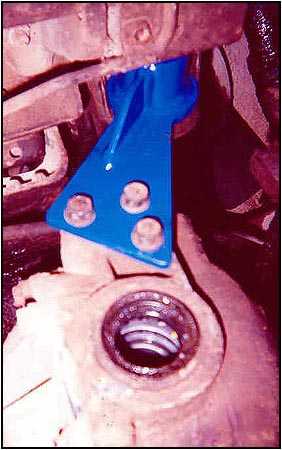
 14- Remove the two brackets that hang each side of the differential from the frame and replace with the new Calmini brackets (pic 11-13).


08/11/10 15:25
[tech/footer.htm]