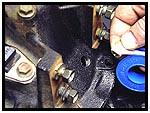
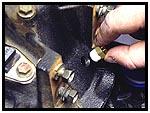
 Teflon tape should be a staple in a toolbox. Seal the threads well and install the fitting in the new tapped location. This seal isn’t for air, the system never pressurizes the axle housing. This is more to keep all the lubricant in the housing if you get a little radical on the trails.
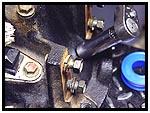
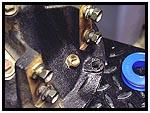 No one likes an oil leak, especially when you were the one that did the drilling…
Don’t torque it down too much, remember that you want it to seal without stripping out the new threads.
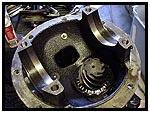
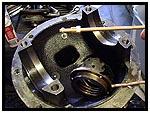 Now that the bulkhead body (correct name) is installed in the housing, it is time to work on the tube that gets the air from the fitting to the locker. Start with selecting the correct compression nut and ferrule. There are two ferrules that come with the installation kit, but only one of them will fit correctly on the tube. See the photo to the right.
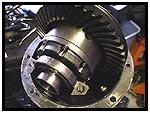
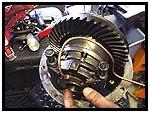 Putting the carrier back into place, use your hands or an appropriately sized tubing bender to form the tube up and over the bearing cap and around the carrier body. The seal housing (the ring on the end of the tubing) will end up oriented with the tube coming up just to the right of the locking tab on top of the bearing cap.
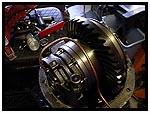
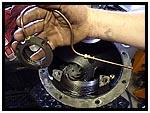 While forming the correct bends in the tubing, you can allow the seal housing to rotate counter-clockwise a little to make room to make the final bend where it will go into the bulkhead body that we just installed. Now we fit the tube for trimming.
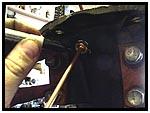
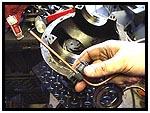 ARB has provided a tube that is more than long enough to take care of this application. So we have to trim it after putting everything back into place. A permanent marker will allow you to mark where you will have to cut it. We suggest using a tubing cutter to make this cut, as most anything else will deform the tube which could lead to air leaks later on.
08/11/2010