 with Bill Johnston
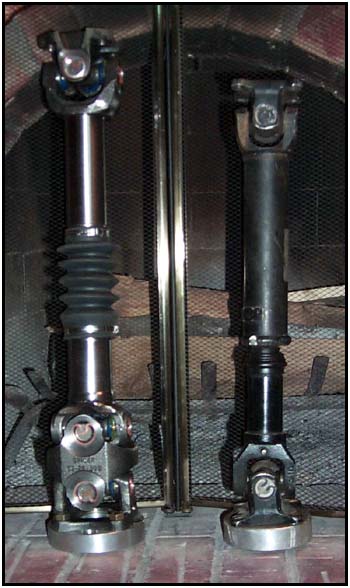
It only takes a first glance at one of Tom Wood’s drive shafts to realize the quality, workmanship and attention to detail that is put into each and every unit that Tom ships. The photo on the right shows the new CV drive shaft and the stock Samurai unit side by side. The CV joint is an excellent way to solve that “mysterious” drive shaft vibration that has cropped up after you lifted your rig! Driveline angles can be tricky to figure out, here is your cure.
Both shafts are resting on aluminum spacers. The stock unit is resting on a standard aluminum billet model that is common among most of the aftermarket vendors, but the new unit comes with an adapter made from T6 Aircraft grade aluminum that allows the use of the double cardan (CV) joint without re-drilling anything. Tom makes these specifically for each application. Tom offers a ‘polished’ option for about $15. If you are going to show off, this is a good option to consider. Otherwise the shaft is painted a utilitarian black.
Click here to check out the extreme product review!
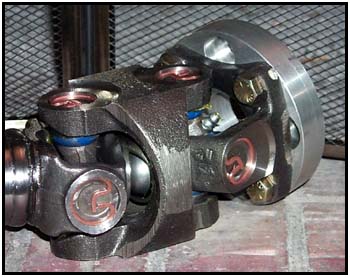
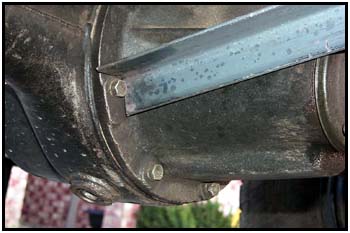
 Upon closer inspection of the CV joint, you will note that the universal joints serve double duty. Not only do they hold the beefy outer ring in place (seen on the right) but they also have a ball and socket joint in the middle to hold everything in place when the forces of nature want to twist it apart during a full droop!
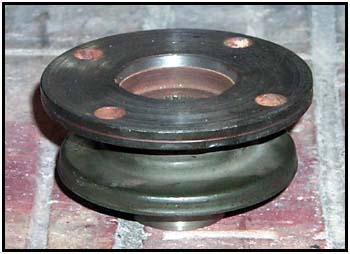
The pinion flange on the left is the only part of the Samurai that has to be machined. You will notice a small ridge machined into the opening at the top, this is to allow the larger bore of the new driveshaft flange to slide in and mate perfectly.
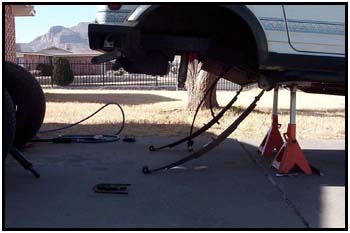
 I laid the parts out to make sure I had everything I would need. The new spring perches are required because the rear pinion must be rotated up to point directly at the transfer case. The new Heavy Duty Rocky Road Outfitters SPOA Perches will replace the current perches.
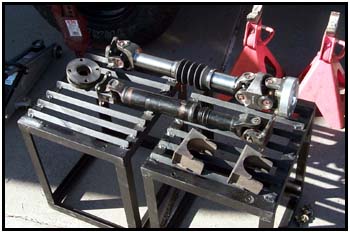
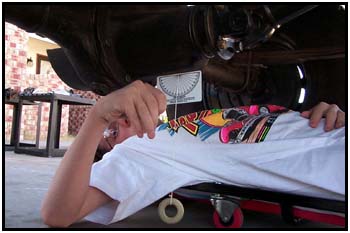

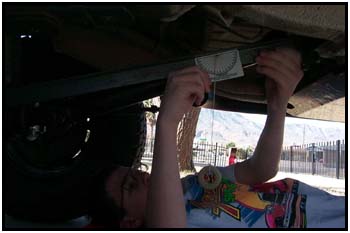
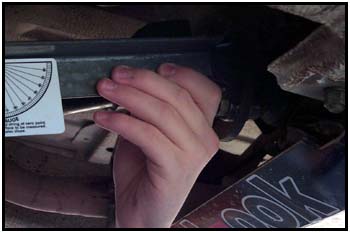
One additional component that is included with every shaft Tom ships is an angle finder that he has so cleverly disguised as a business card. It is the same size and made with the same material as a standard plastic credit card, so it is easy to store. In these photos you can see my son checking the base angle of the differential and the angle that the differential needs to be moved to. You must measure this final angle from the middle of the diff where it contacts the axle housing – to the center of the transfer case flange. In our case, the difference was 12 degrees. This is the rotation needed when we put on the new spring perches. The pinion must end up pointing directly at the transfer case. The CV Joint will be the only part that does any bending.
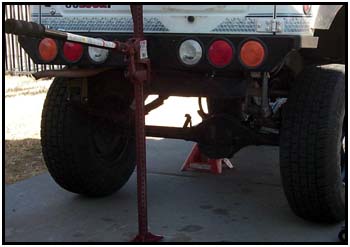
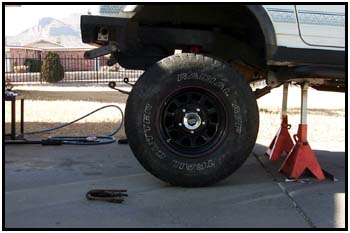
Now it is time to disconnect the rear axle assembly. Make sure you disconnect the brake line(s) before pulling the assembly out from under the vehicle… or it could get messy very quickly.

08/11/10 15:11