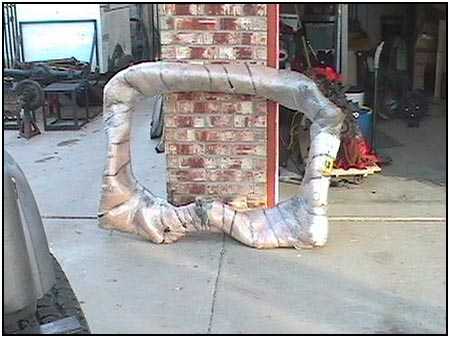
 Yes, a stock Samurai roll bar is strong. But we wanted to be a bit more secure when the trails get tippy. We added a Sport Cage from Petroworks. It arrived through UPS like a giant doughnut. After unwrapping the plastic and carpet protective covering, we found a kit that was as easy to put together as it was to unwrap.
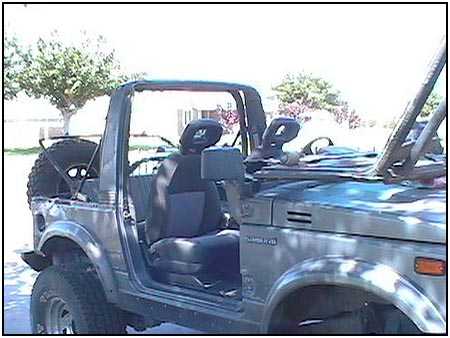
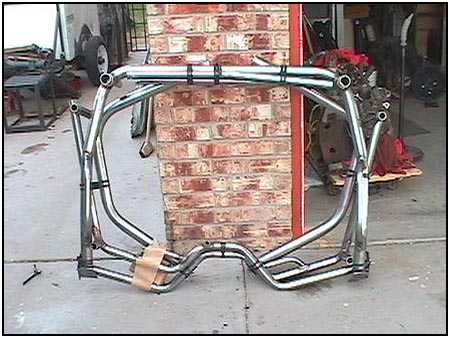
 We assembled it in about 20 minutes, but that was only to paint it. It is delivered unpainted so you can color-match it to you nerfs, bumpers or whatever. Then we made a little room to work. We had an extra set of windshield hinges from an old fold down kit, so we put it to good use. Although removing (or folding down) the windshield is not required, we did it because we could…
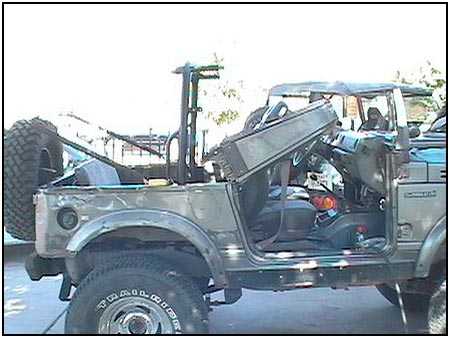
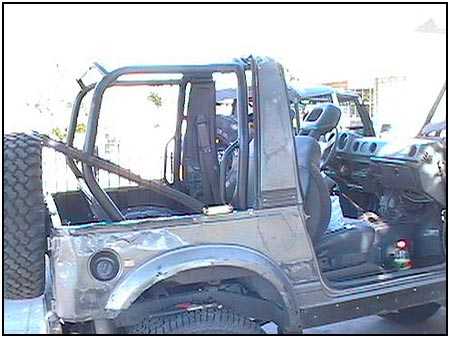 The cage replaces the stock roll bar. The hardest part of the install was removing the screws that Suzuki used to secure the targa bar and the stock hoop.
This is a full cage, so putting people in the back seat shouldn’t pose a problem. Remember, Safety First!

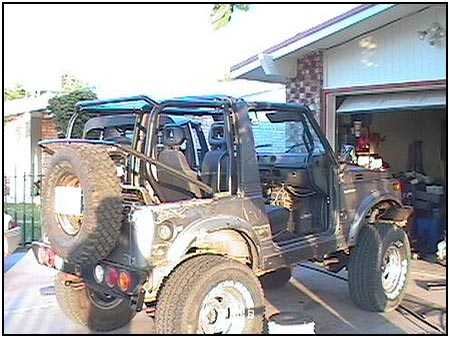 As you can see, the cage is very well thought out. Grab handles in front and back make it easy to get in and out as well as adding more of a sense of stability for the passengers during a trail ride. Rear Suspension
 The rear suspension was done in two parts. First we concentrated on the axles, then the springs.
The vehicle was already set up for SPOA, but we wanted a bit more, remember?

 First thing to do was to rip out the old axle. On the left you can see how we kept the brake fluid from draining out completely while we did the install.
Everything had to go because we had new parts on the way.

 Here is one of the reasons we wanted a new axle. You can see where the previous owner had welded the SPOA perches usinga bit too much heat. It compromised the strength of the metal and then a ‘heavy hit’ pushed the perch -through- the axle tube. We could actually see the axle shaft through the hole in the tube.
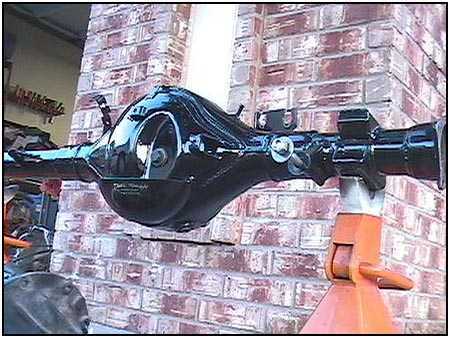
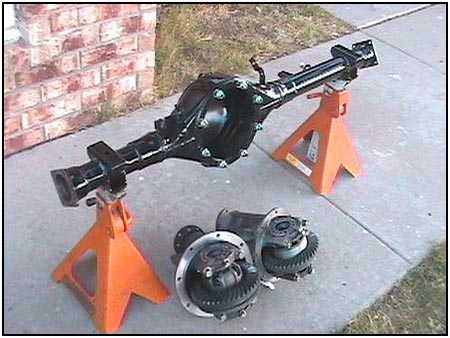 Since we were going to need some lower gears anyway, we took advantage of the gear change package offered by Trail Tough. It includes front and rear third members (already set up) that are ready to bolt into place when they arrive. It also included a hybrid rear housing (remember ours had a hole in it…). We also had them pre-install new SPOA perches, shock mounts and a pumpkin hat.
 We sent a set of lockers for each end to Trail Tough, and they installed them in the third members when they put in the 5.12 gears. This made it extremely simple on our end because we just had to bolt it all up.
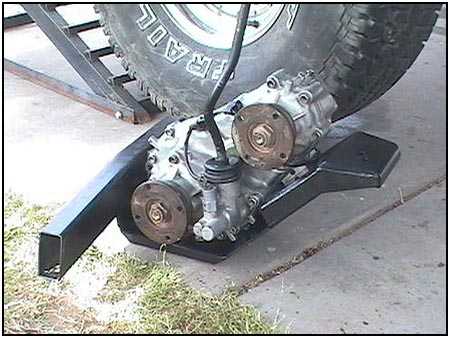
 We wanted a rock crawler, so the combination of 5.12 gears and the 4.16 transfer case gears (installed by the previous owner) made it easier. We needed some additional protection for those transfer case gears, so we had Trail Tough send down a Mighty Kong skid plate/transfer case bracket.
Trail Tough YJ Rear Spring Kit Spidertrax Billet Rear Upper Shock Mount …and more.
Also – Trail Thrashing (testing in Las Cruces)
Component Sources (in alphabetical order):
Andy’s Samurai Steering
Hawk Strictly Suzuki
Petroworks
Roadless Gear
Rocky Road Outfitters
Spidertrax
Trail Tough Products
08/11/10 14:53