 with Bill Johnston
 Let’s make it Rock! (Part 1)
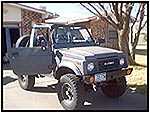
We started with an 87 Samurai that had lockers (front and rear) and 4.16 gears in the transfer case. The SPOA conversion was on the ‘iffy’ side, but it kept the fenders off of the 31″ tires. It was capable of doing many of the ‘normal’ trails in the area (Las Cruces), but we wanted to do more… More comfort, more flex, more safety… just more…
Seats 
 First thing to go were the shredded Samurai seats. The vinyl was torn in many places and the backs were in tatters. We picked up a set of Sidekick seats that were in really decent shape and made the (sawzall) adjustments. A few minutes with the welder and a little paint and the cockpit had a whole new look and feel. For more details on how to do this yourself, check out the article by Mike Lewis this month.
 The newer, cleaner (more complete) seats gave a fresh look while the meaty side bolsters add to the comfort and security. The conversion lifted the seats about an inch, but the stock Samurai mechanicals underneath still allowed the seat to move forward and back like it was supposed to. Test Twist
 Before doing any suspension work, we put the tires up on a ramp to check the flex. The vehicle already had a SPOA conversion done, but we still couldn’t get more than one tire up a ramp. A SPOA conversion can net you much more flex than stock, but we wanted as much ‘usable’ flex as we could get without going to something exotic. “Keep it Simple” but make it flex…
You will also notice the new STC top with roll-up sides. That, combined with the 33″ tires gave the Zook a whole new look.

 In this front shot, you can see that the rear tires are on flat ground. When we are done, both front and rear tires will be lifted at opposite ends so that the tire lift will get to at least 32″. This is achieved by using a set of 16″ ramps. But first we needed to get the ‘stiff’ suspension gone… Front Suspension
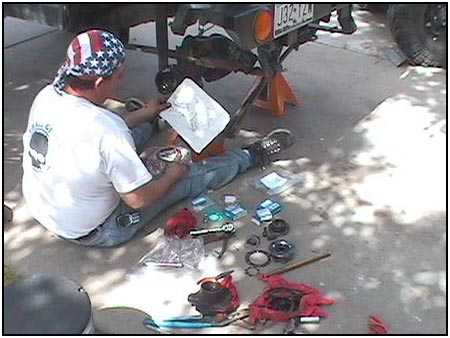 Before we could start playing with the suspension, we needed to stop the flow of oil through the old and leaky axle seals. We talked to Rick Hawk at Hawk ‘Stricktly Suzuki’ and he set us up with a pair of front axle rebuild kits. These kits replaced all the bearings and rubber seals as well as the felts.
 Staying on the front end, we replaced the leaf springs with a set of (longer) rear springs. This moved the axle forward about 1.5″ to make room for the 33″ tires we were going to add. To do this we used a set of Rocky Road Outfitters Missing Links up front. This will not only give us a smoother ride (longer springs) but it will also allow for more ‘droop’ when getting through an obstacle.
 The photo on the left is ‘before’, using stock springs in a SPring Over Axle configuration at full droop. The photo on the right is also at full droop, but is ‘after’ putting stock rear springs up front and adding a set of Missing Links from Rocky Road Outfitters. This effectively moved the axle forward approximately 1.5 inches. Longer wheelbase, more stability. But it does bring up a steering issue. We will be using a brand new product to take care of the concern. Steering
 This dropped drag link was fine with stock springs, but with the added height of the new configuration the bump steer was really bad. Time to move the steering linkages up higher. Andy’s Samurai Steering is a relative newcomer to the industry, but it effectively moves both the drag link and the tie rod to a point above the springs.
 The system includes a pair of arms that mount to the brake caliper using longer bolts. It also secures to the original tie rod mounting arm for support.
 Also included are a new drag link and a new tie rod. The drag link uses replaceable stock Suzuki tie rod ends. This allows a person to change the tie rod end that connects to the pitman arm to whatever they need depending on the kind of power steering system they have installed.
 As you can see, this system moved everything up out of harms way. During the trail thrash test (more details later) the new rods never came close to the rocks… and although it doesn’t completely get rid of the bump steer issue, it makes it comes closer than most of the other systems out there.
08/11/10 14:49