 The Family Style Sport Cage With Bill Johnston
Have you ever driven a trail that had a drop-off that made you think “I wish I had a little bit more security in here”? I have. I have also wanted a bit more protection for any passengers that I might have riding in the back seat. The stock (factory) roll bar is surprisingly strong, but it doesn’t help if you are not directly under it. What about that fold down windshield kit you have wanted for so long? Try wheeling with the windshield down and no additional protection and you are just asking for trouble. Time to find a strong sport cage that is well built and fairly easy to install.
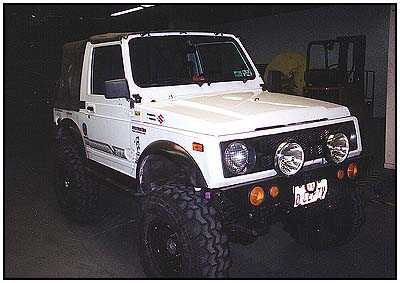
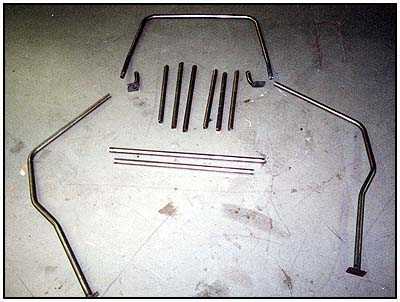 Trail Tough Products is shipping it’s Family Style Sport Cage in kit form to take care of your needs. The 1.5″ tubes (.120″ wall construction) come pre-formed, notched and well marked for a simple installation. This kit is designed to fit under both hard tops and soft tops while not getting in the way as you get in and out of the vehicle. It is sold in two sections so that it will fit into the budget a bit easier. We will be installing both the front kit and the rear kit to show how easy it is. This is a weld together kit, so you will need some welding skills and equipment, but this adds to the strength of the final product.
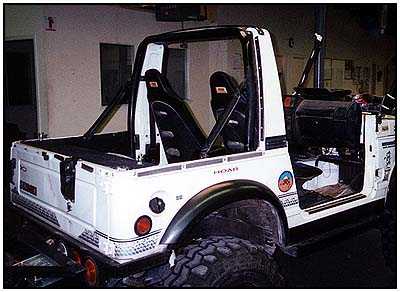
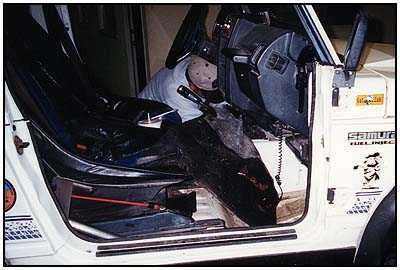 The first thing we had to do was prepare the vehicle for it’s new components. We removed the front carpeting and the soft top. We had just installed the fold down windshield kit in preparation for the cage, so we dropped the windshield to get it out of the way. I knew we were going to need some elbow room inside, so we pulled the front seats out (4 bolts each) and set them to the side.
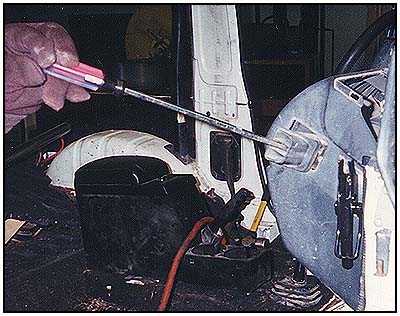
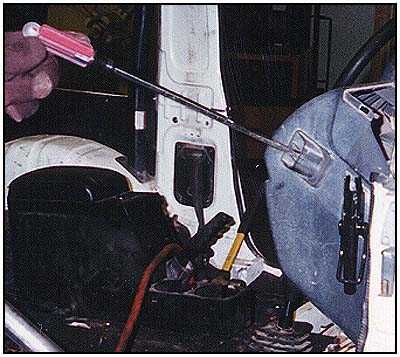 One problem that I had heard about from the masses before starting this installation was that I would have a problem getting the cage past the air vents that are on the side of the dashboard… As you can see, we used a screwdriver to ‘gently’ pop the vents out of the panel. They pop back in just as easily when you are finished.
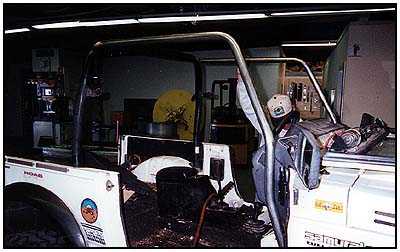
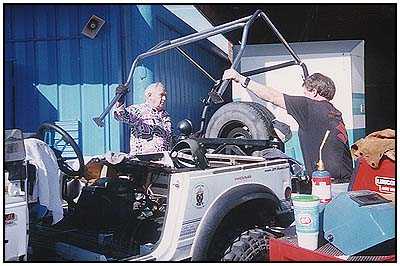
 We removed the targa bar next, but keep it handy so you can replace it during the fitting of the front tubes. More on that later. The tubes are well marked so you just put it together like a puzzle.
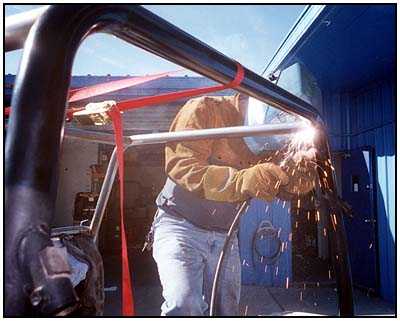
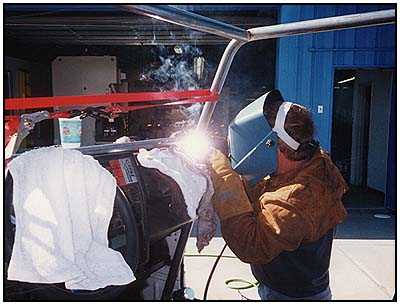 Before any welding, make sure you have some damp rags to shield the dash board from the heat and sparks. We just tacked the tubes in place for now, no use melting the plastic! As you can see in the pictures, we used ratchet straps to hold things together and assure a nice fit. The notches are all pre-fitted to the marks, but you can move the bars a little if you have special needs or preferences. We moved the rear stringers a little bit, but I’ll explain that a little later.
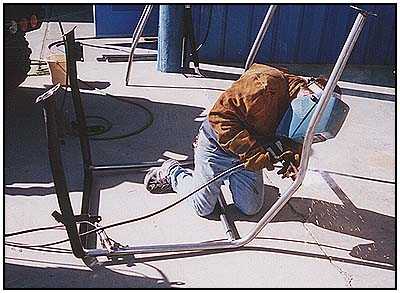
 We did one section at a time. First the front kit and then the rear. Here you can see us removing the tacked front section to allow more room for getting the welds right.
 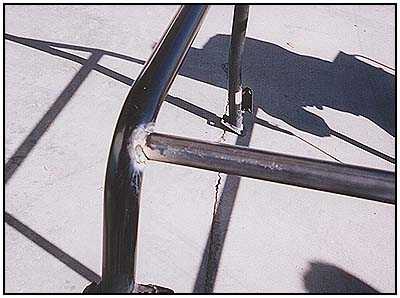 The front tubes are designed to fit against the stock middle tube. This is where you may want to replace the targa to double check the clearance. We lined up the front tubes with the center of the middle tube… we should have lowered the tube a bit because it contacted the targa when we finished. We made the adjustment in the targa to compensate, but if we had paid attention in the first place, the targa would have slipped right down snug.
08/11/10 14:59
[