 with Bill Johnston
Changing Stock Sidegears
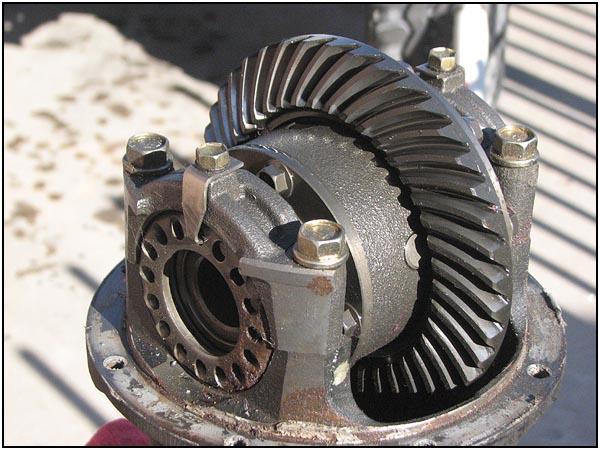 When upgrading to a beefier set of front axle shafts, it isn’t just a quick swap of the shafts. The kits that are out there require a gear change inside the carrier. The stock inner axle shafts in the front of the Samurai are 22 spline. The upgraded axle shafts out there are 26 spline. No big problem if you can source some sidegears from a stock rear differential. One word of warning – to get this right you will need to know how to set the gears up right after you are done. Here is how you get to the sidegears.

 First thing to do is mark everything. This makes it easier when putting it all back together.One of the hardest things to do (if you don’t have a monster air impact driver) is to loosen the ring bolts. I usually loosen them before removing the carrier.

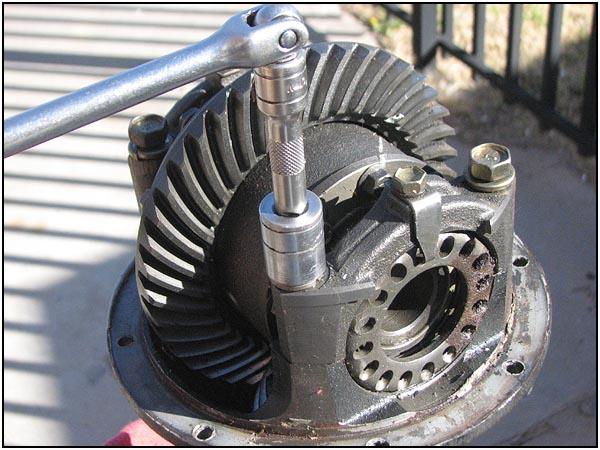
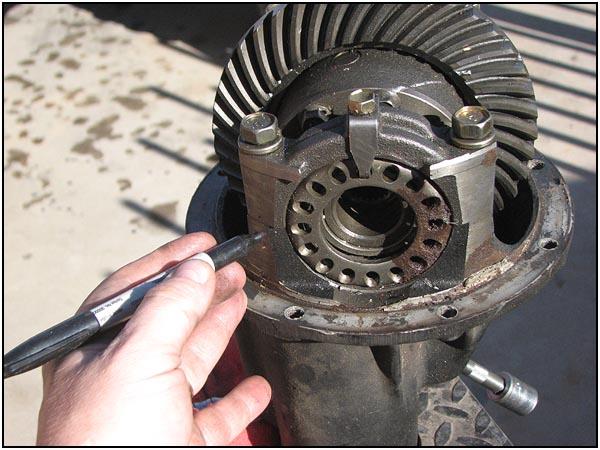
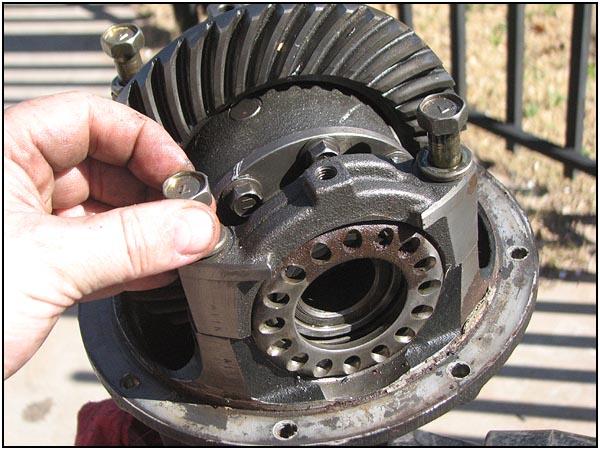
 The side bearing cap bolts and the keeper is removed next.
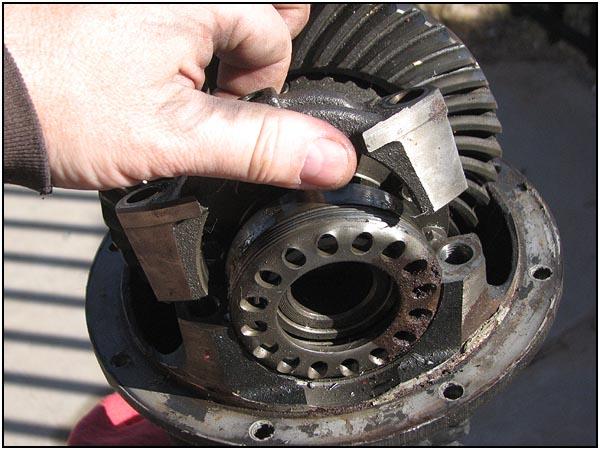
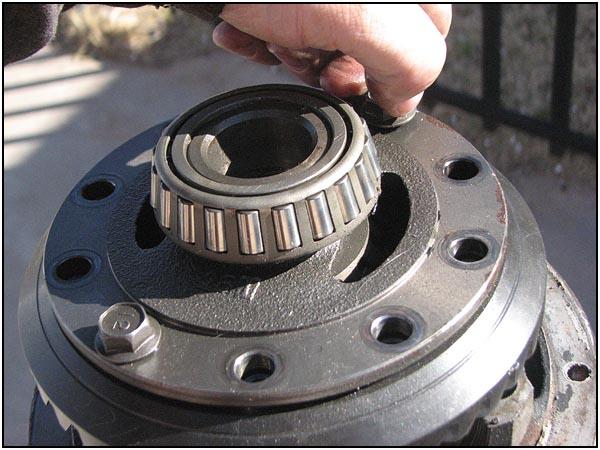
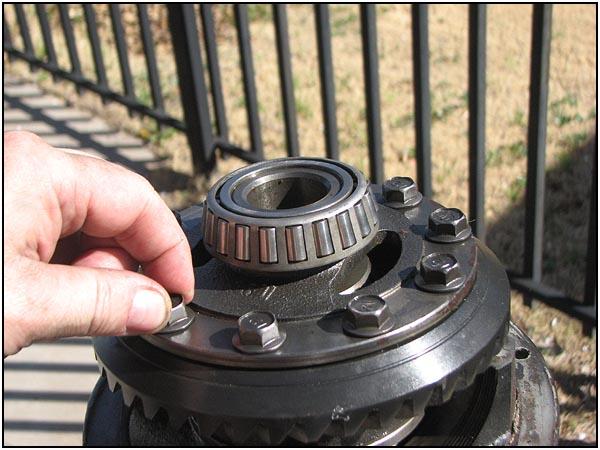
 Next comes the side bearing cap and retaining ring. This is done for both sides.
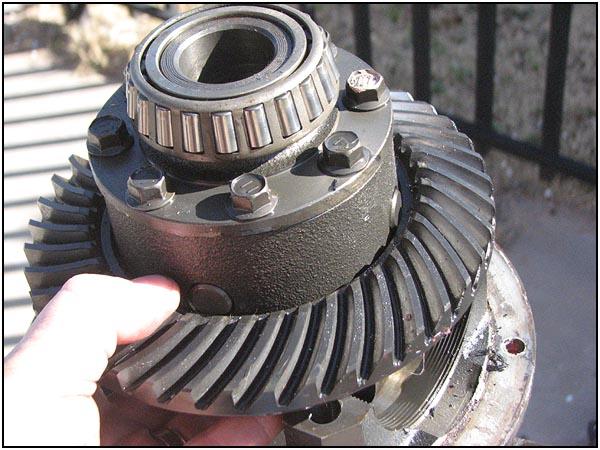
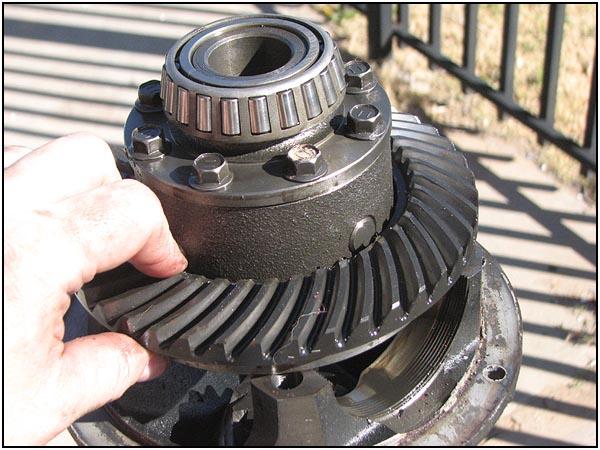
 Pull out the carrier and remove the ring bolts.
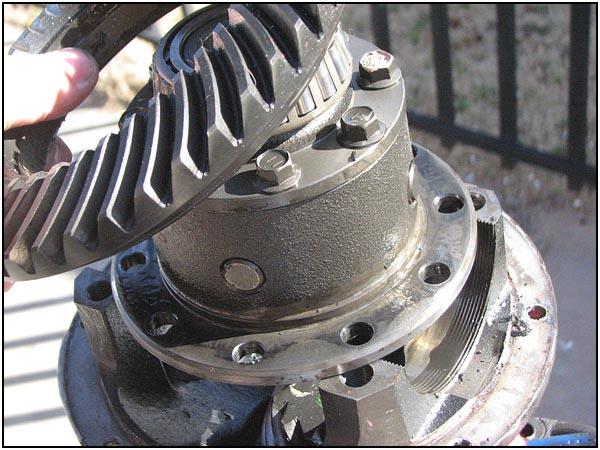
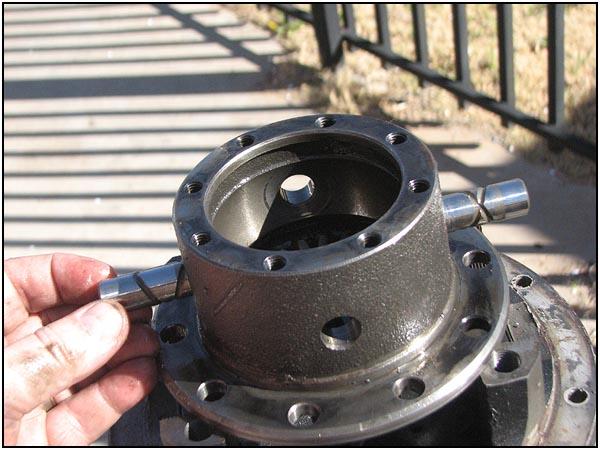
 Flip the carrier over and remove the ring gear. This has to be done to allow the differential pins to slide out.
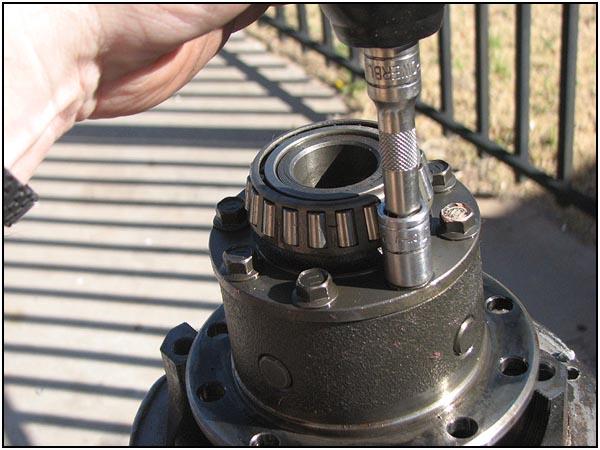
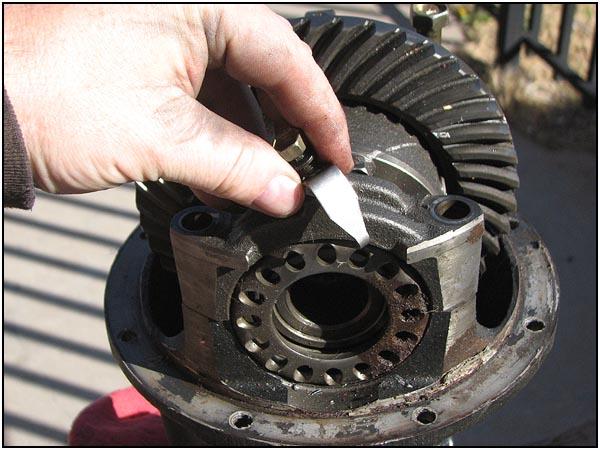
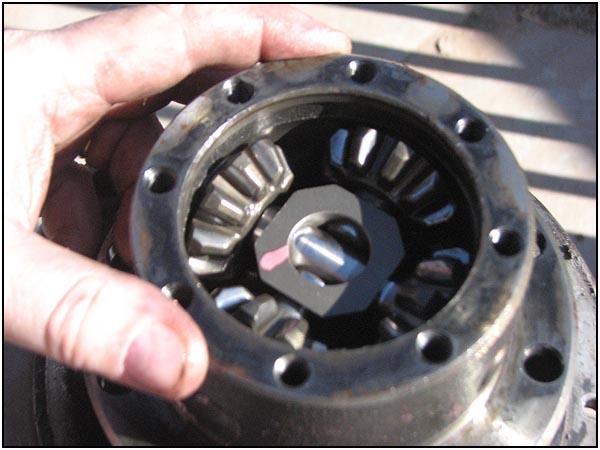
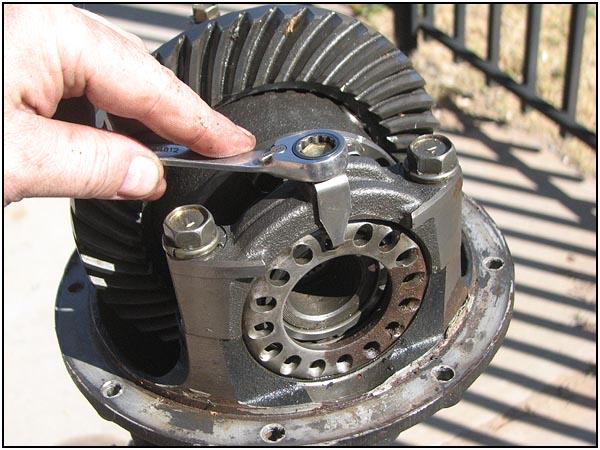
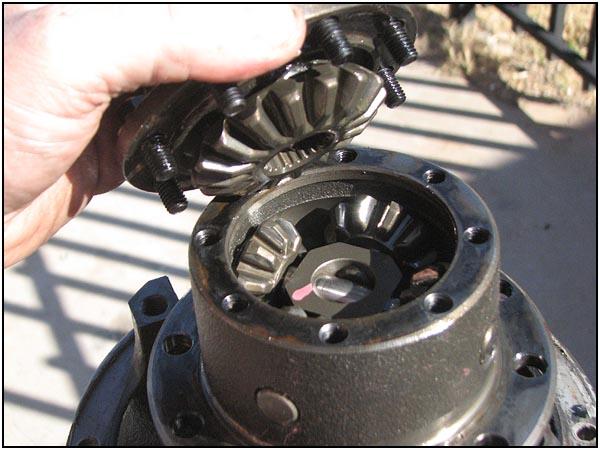 Open the case by removing the retaining bolts. Pull off the top half and you will see the first of two sidegears.
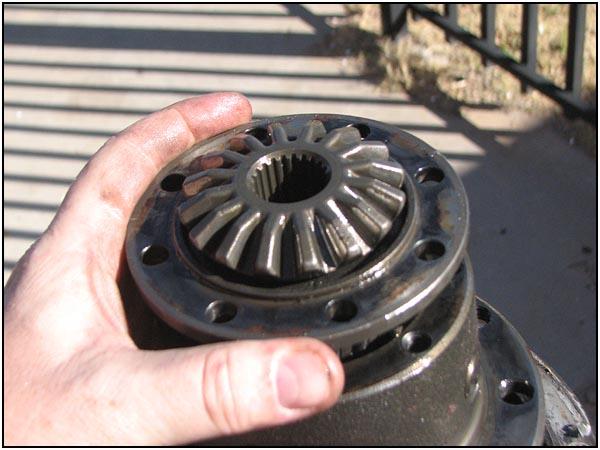
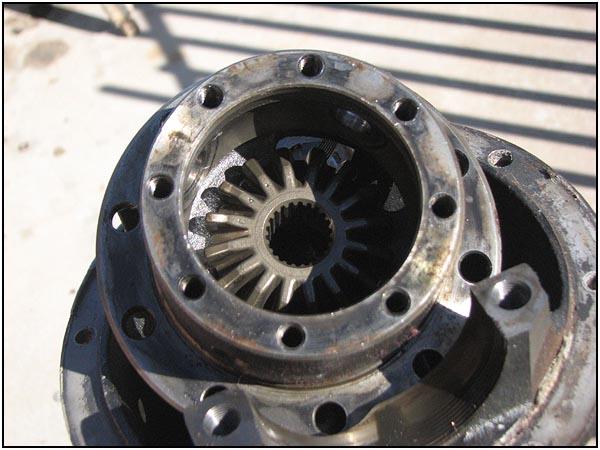
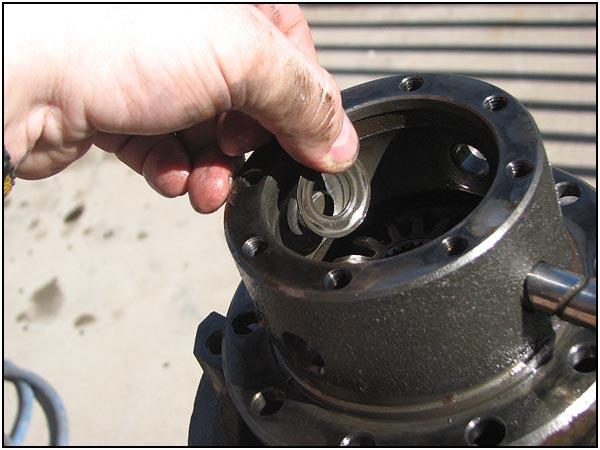
 This is a 22 spline sidegear. Using a 26 spline axle shaft, you can see how much larger the opening needs to be.
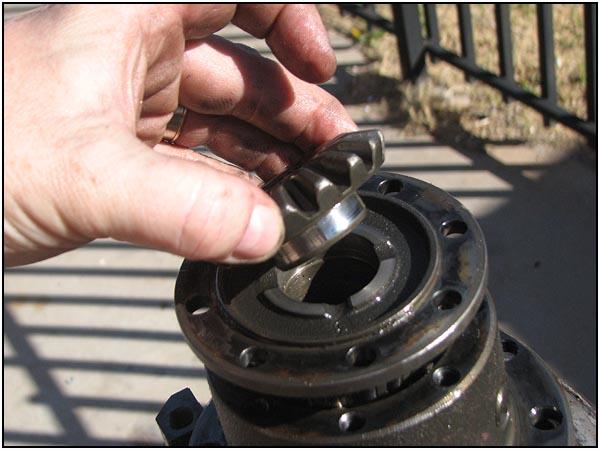
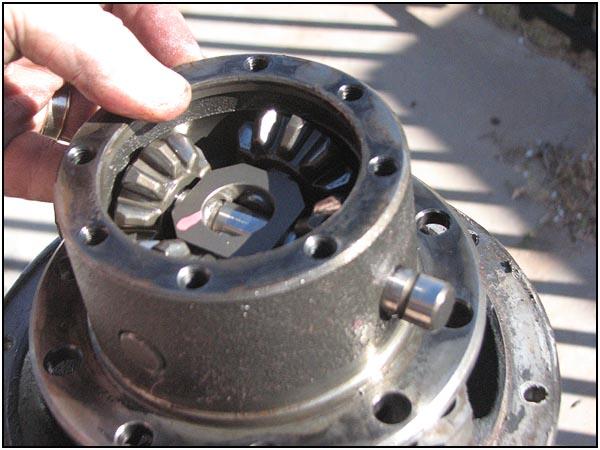
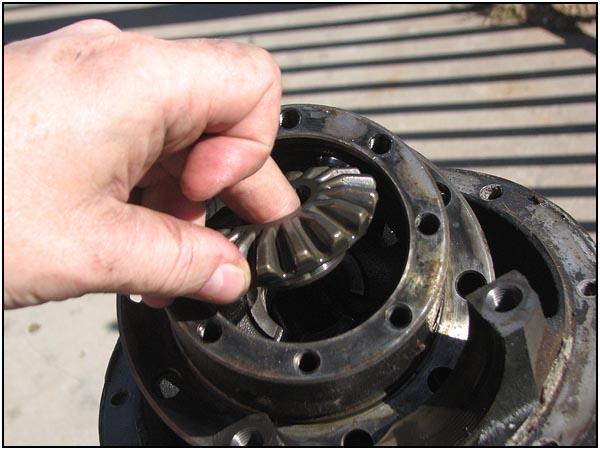
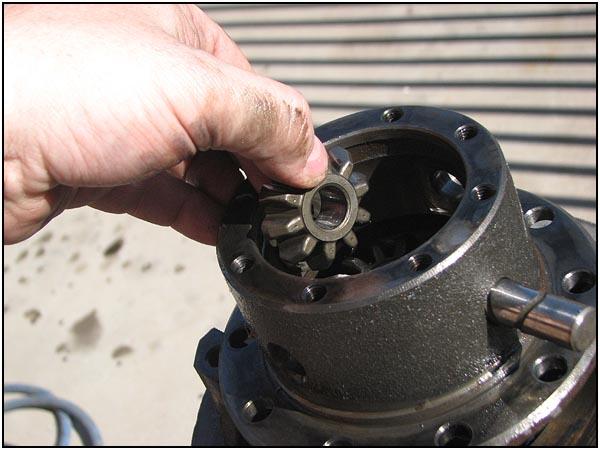
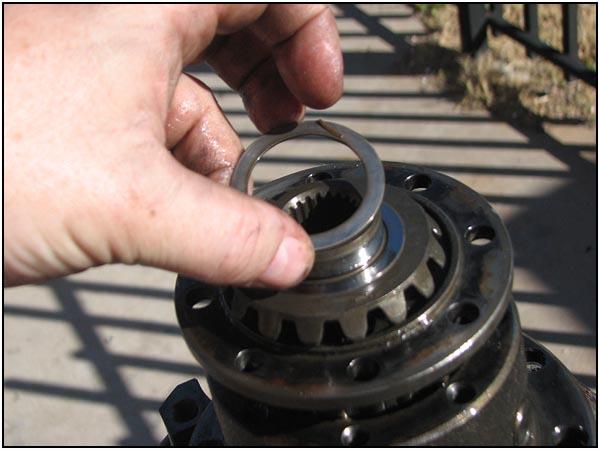 When swapping out the gear, make sure you use the shim from the gear that comes out. Transfer it to the new gear.
  Here is another view of the size difference. Except for the opening, the gears are identical.
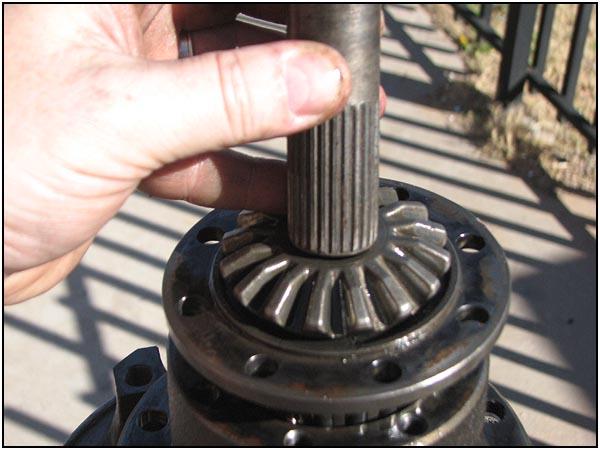
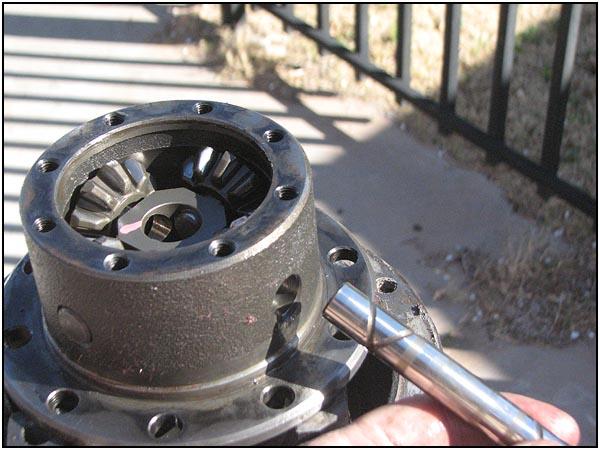
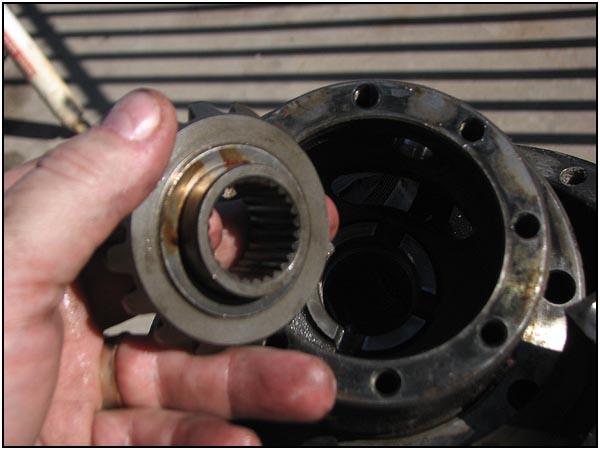
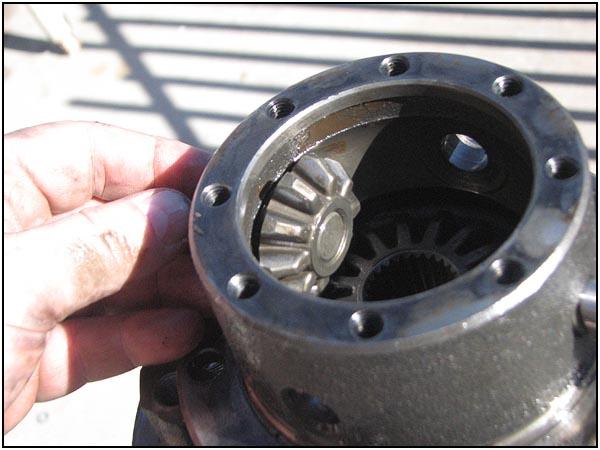
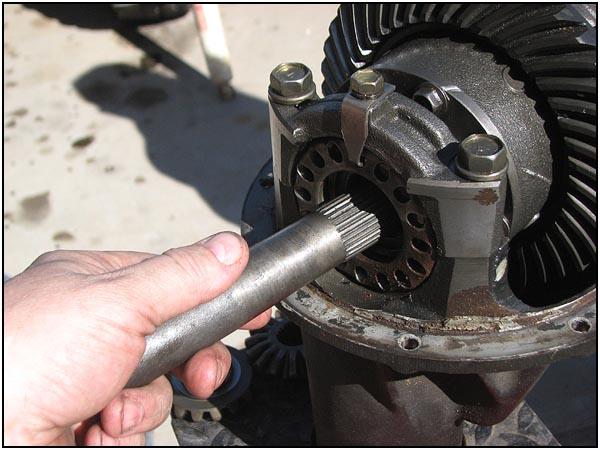
 Here you can see how the 26 spline axle shaft fits the new gear.
But now we have to go deeper to find the second gear.

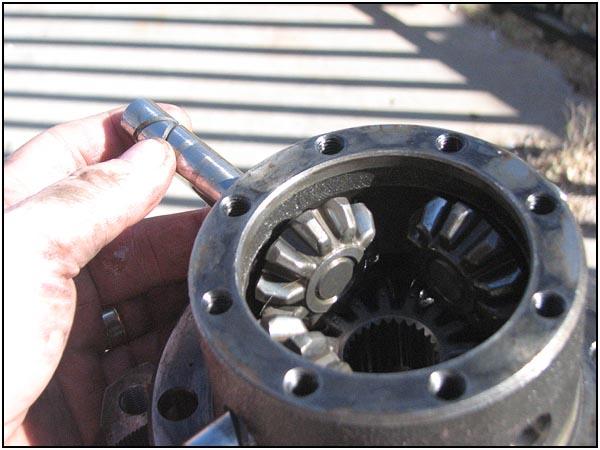
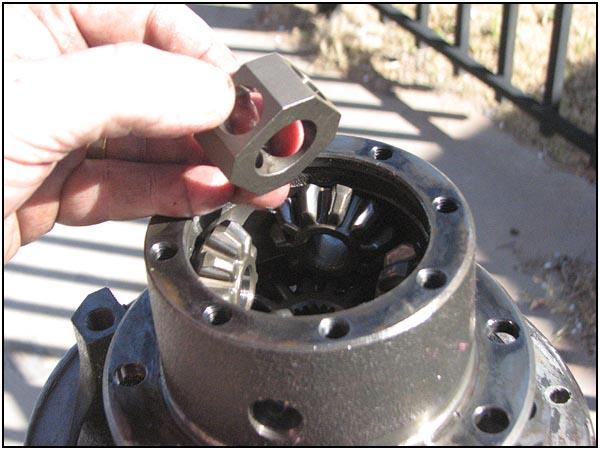 Slide the pins out and remove the center block.
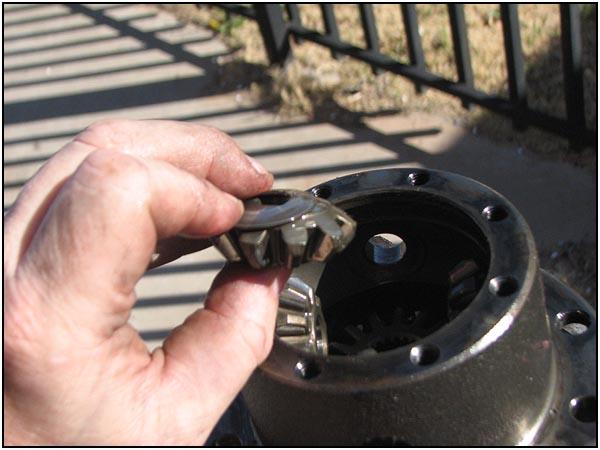
 Remove the spider gears, but be careful not to lose the thrust washers.
The other sidegear is down at the bottom. Remove it and swap out the shim just like the other sidegear.

 It all goes back together the same way it came apart. The trick to getting the spider gears lined up on the pins is to insert the pins enough to hang the gears on them. Don’t forget the thrust washers…

 The long pin will only hold one of the gears. You can use a little bearing grease to ‘stick’ the thrust washer to the gear. This will give you a little more control as you finish the install.
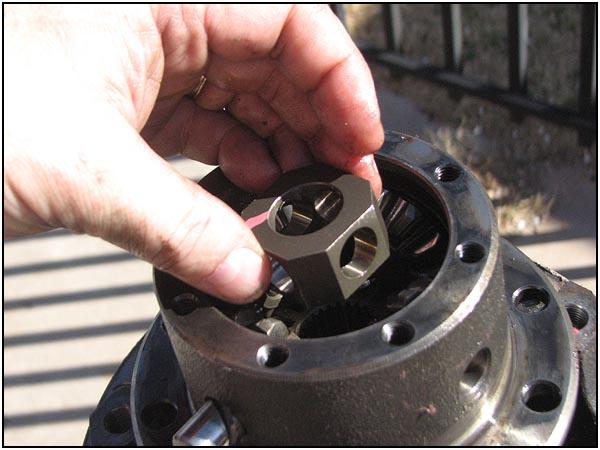
 Drop in the center block and slide the pins all the way through.
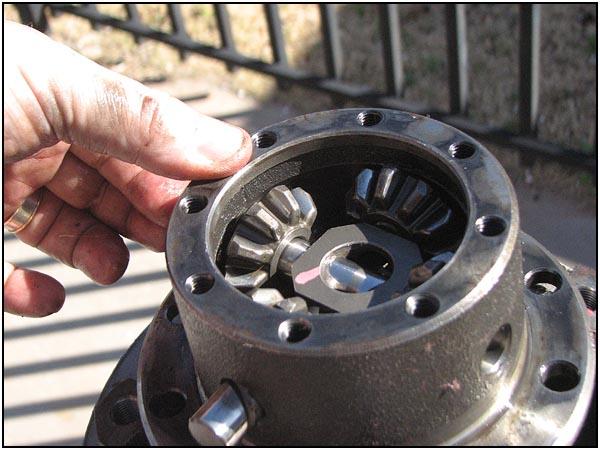
 Once everything is seated, the top ( with the new gear) is dropped back into place.
Replace the case bolts and then the ring gear.
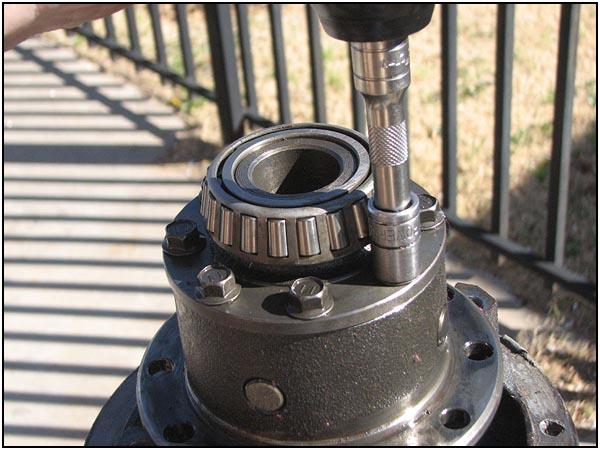

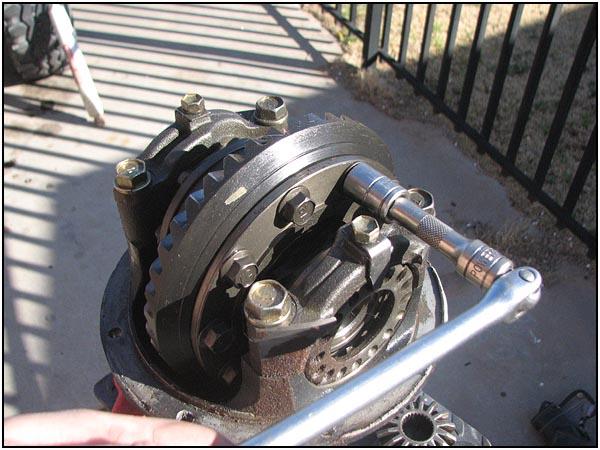
 Once the ring gear bolts are torqued to factory specs, reassemble the side bearing caps and make sure you don’t cross thread the bearing adjuster (ring).
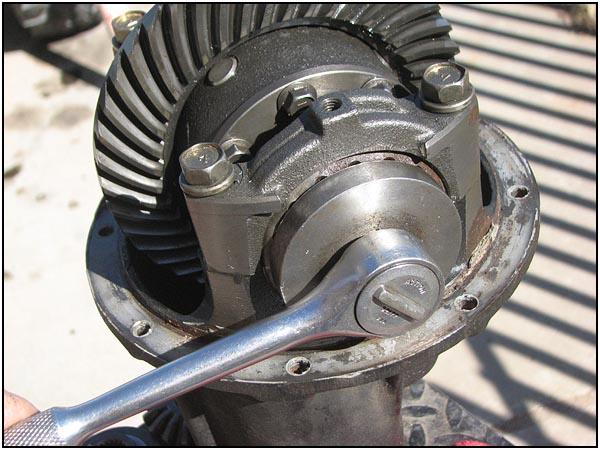
 After you set the backlash, lock the ring in place and torque down the bearing cap bolts.
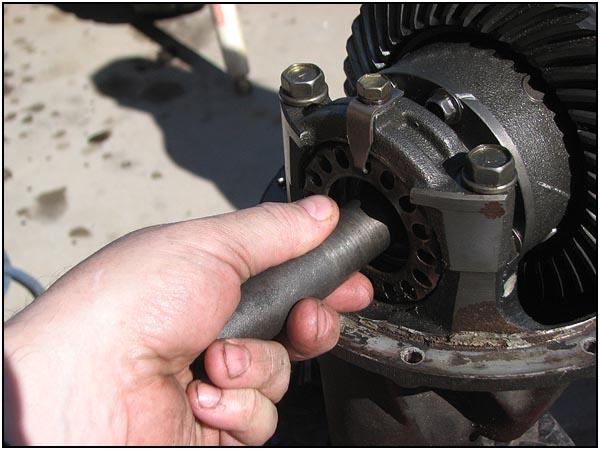
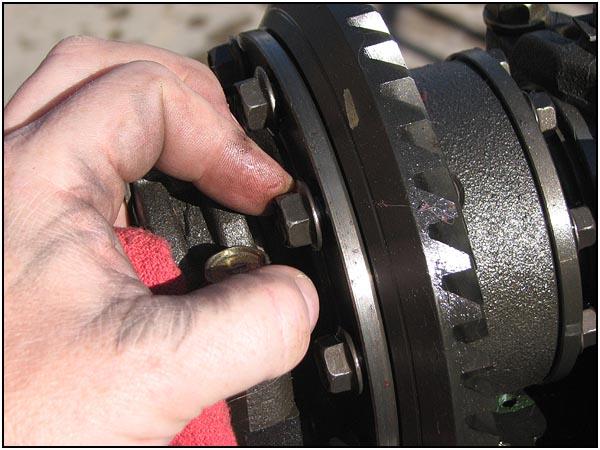
 Just to make sure you didn’t get anything mixed up, check the size of the sidegears with an axle shaft before putting the differential back into the axle housing. You don’t want to find a mistake hen you have it all back together…
Click through to go back to RCVPA article
08/11/10 15:09:55