with Brandy Owen (Introduction by Murph, The Seasoned Rookie)
Steering Knuckle Rebuild
Friends, Rookies, Zookimen, Lend me your sockets
 In the past few issues youve met a young lady named Brandy. Like many of us, she shuddered at the thought of getting dirty for fun. Just one week prior to the writing of this article, Brandy said to me over a pizza, You know, with all the driving back and forth to the office every day, Im really lucky Ive never had a flat tire or anything I wouldnt have any idea how to change it.
As with most of our rookies, sometimes they underestimate their inner strength and abilities So did Brandy. By simply watching me do the job once (learning from my mistakes) and reading the FSM before and during the job, she proved to us all that working on our Suzukis is not as intimidating as it may seem.
After some zany off-roading trips, Murphy noticed that gear oil was beginning to leak from his driver’s side steering knuckle. Having never replaced the seals or bearings in the Tonka Toy, it was decided that we’d play it safe and repair both sides. Murphy did the drivers side first with me watching, then I did the passenger side.
As with most of our repair projects, we called Figmo at Roadless Gear and told him our problems. It was suggested that we go with the Front Knuckle Rebuild Kit and a set of front wheel bearings. This was very convenient and saved us a lot of time at the local parts-o-rama not having to look up parts, forget a key item, etc. The parts arrived within two days.
Now, I am going to take you through the process of a steering knuckle rebuild not only as a rookie, but also as a stereotypical girly-girl doing this for the first time to show that YES you can do it!
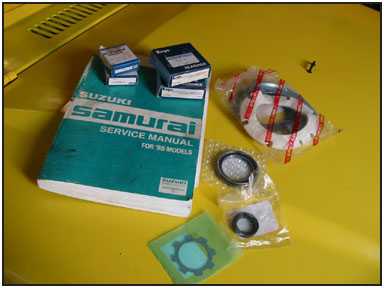 1. Start by gathering the things you will need: Steering knuckle kit, tools, (socket set, circlip remover, tie rod end removing tool, sealing compound, wheel bearing grease, a good penetrating oil like WD-40 or PB Blaster, Factory Shop Manual (available through www.roadlessgear.com,) icy cold beverages, and a good friend or two for moral support. And Music. You gotta jam as you work. We chose some of Murph’s 80’s CD’s like the Motels and The HoneyDrippers.
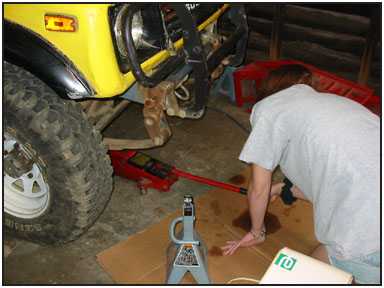 2. Next, loosen the lug nuts and jack up your zook after making sure the rear wheels are properly blocked. (Trust me on this one…it doesn’t work nearly as good if you do it the other way around!)
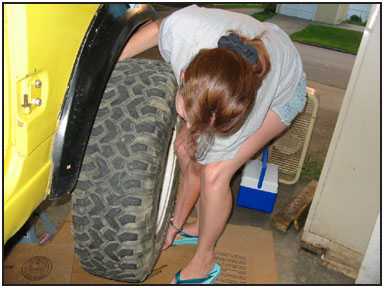 3. Remove the wheel
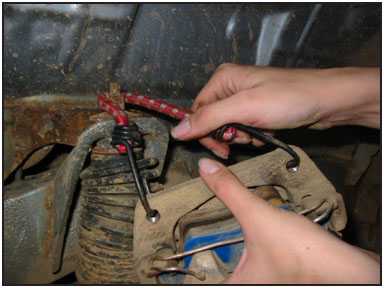 4. Now remove the brake caliper with carrier by loosening the carrier bolts. It’s important not to let the caliper dangle from the brake line. Hang it up using a bungee cord to prevent the brake line from bending, twisting, or being pulled.
08/11/10 15:13