We move on to the center of the housing to add the air vent, oil cap and drain plug. For those that have upgraded their rear drive shaft to a CV style drive line will like the fact that after rotating their axle up to face the transfer case straight on, the oil fill cap is still high enough on the pumpkin to allow plenty of room to fill it. On a stock axle that has been rotated, you must raise the rear of the vehicle about 2 feet in the air to allow the proper amount of oil to be added before it comes pouring back out the fill hole. 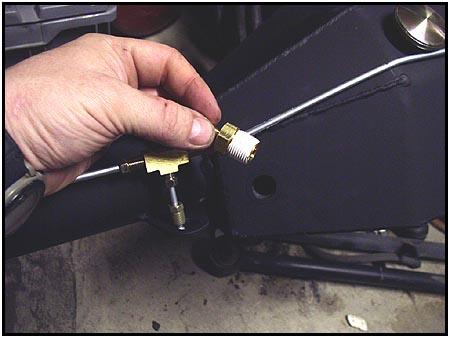

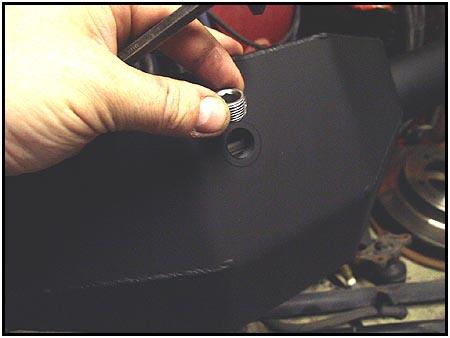
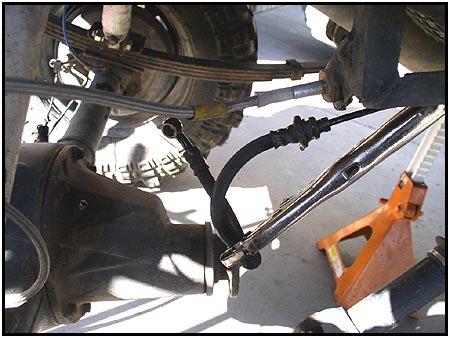
 Now it is time to yank the stock axle. This vehicle was equipped with shock mounts that did not attach directly to the axle housing. This is why you will not see shock mounts on the new Sidewinder housing..
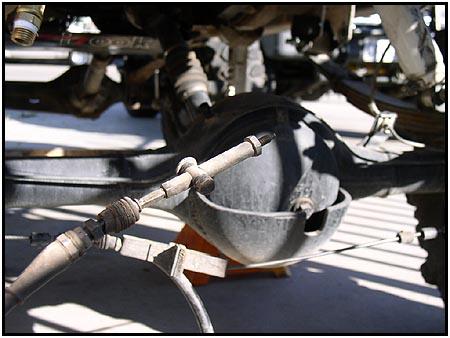
 The brake line must be disconnected. To reduce spillage we used an old front brake line hose to ‘cap off’ the rear line. The emergency brake was the next to go. In the future we plan to install a hydraulic line lick in the rear line to replace the cable emergency brake.
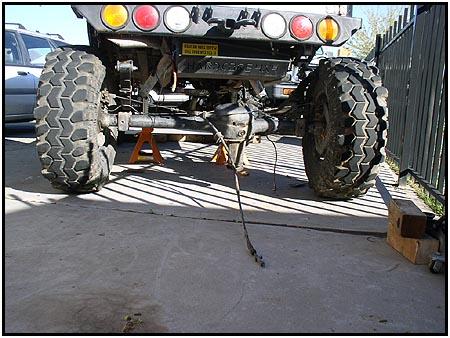
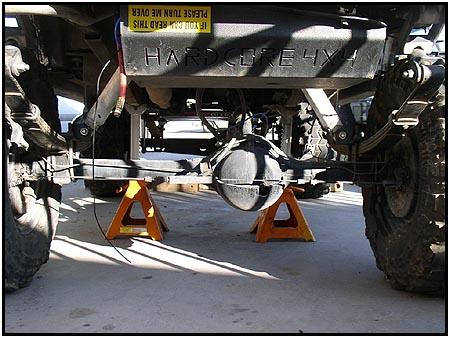
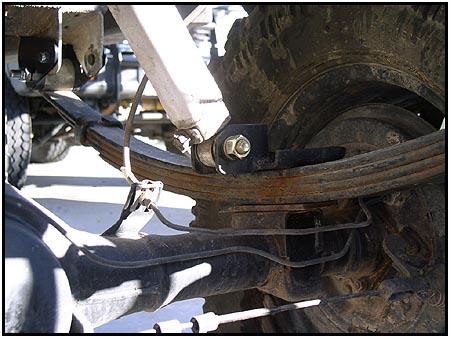
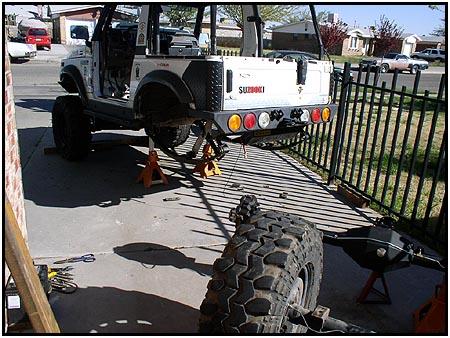 Once the vehicle was safely on jack stands and everything was disconnected we removed the u-bolts, disconnected the drive shaft and easily rolled the rear axle out of the way.
08/11/2010