 with Raechelle Champoux and Jody Ellsworth
RRO Super Beef Transfer Case Arm
We all know how hard re-gearing your transfer case can be on stock transfer case arms. Some of us change out the stock arms right away for a beefy aftermarket unit to ensure that there won’t be any problems. Some of us just run the stock t-case arms until something happens and hope that it doesn’t happen on the trail. But it almost always does. That is what happened in this case.
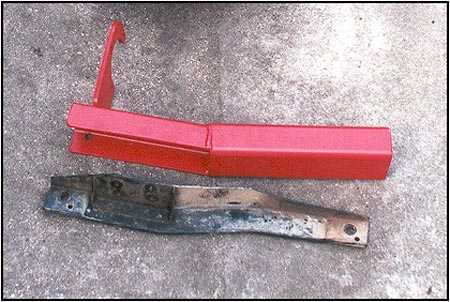
 While wheeling on the pink trail at the Badlands in Attica, Indiana, we were running 4.16’s in the transfer case and bent up a stock transfer case arm pretty good. We got the Rocky Road Outfitters Super Beef Transfer Case Arm to eliminate the possibility of twisting or damage. It is constructed of 3/16″ thick square tubing and mounts to the face of the transfer case using the laser cut arm. It also mounts up behind the rear flange as well. It came to us painted black, but we opted to change the color to bright red as shown in the photos. I have come across many different mounting arms and I can say that it is a seriously BEEFY arm with substantial weight behind it.
 Tools required
- 14mm wrench
- 12 mm wrench
- angle grinder (just in case)
- helper (optional)
Parts required
- RRO Super Beef Transfer Case Arm
- 3- 12mm bolts (any standard sammy bolts will work.)
- Polymount Kit

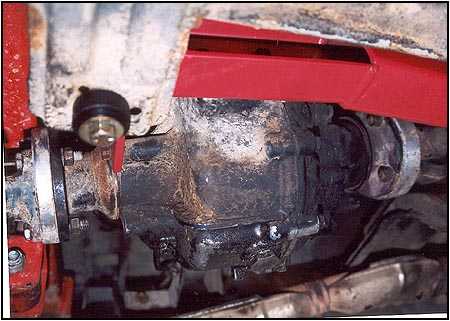
 Start by unbolting all of the drive shafts from the t-case. Then, from inside the vehicle, remove the shifter from the t-case. Remove the nuts holding the bottom of the mounts and remove the t-case with a turn and drop movement. Once the t-case is out you can easily see the mass and strength as compared to the stock arm. If you look closely in the photo to the right you can see where the mounting hole on the end (rear) of the new arm is placed very close to the wall of the arm. This is where a ‘cut’ version of the poly mount is used to get close to the arm wall without losing strength or changing the mounting geometry. Rocky Road Outfitters can provide this bushing or you can just trim a bushing by about1/4″ on one side to make it fit correctly.It’s not that hard of a modification. Remove the 4 bolts holding the old arm to the t-case and test fit the new one. I had a little bit of difficulty with the clearance for the rear flange. But 2 or 3 passes with the angel grinder and all was well. (The problems that arose during installation of the mounting arm may have been due to us using a different brand poly mount kit than Rocky Roads.)
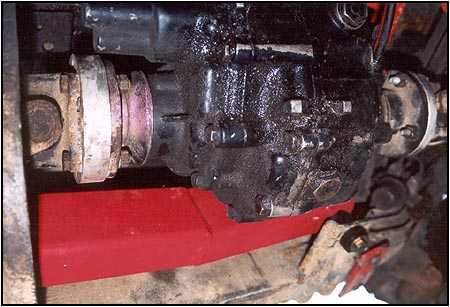 Then start all the bolts and tighten. I found that if you tighten the sides before the rear or vise versa they dont line up. Once all is tight you can remount and reinstall the shafts. It took a short afternoon to start and complete this install. All in all this was a really easy install and I would say if you can turn a wrench then this is a project for you.
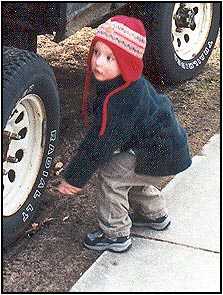
 Editors Note: Jody’s helper was two year old Porter Ellsworth. Building and wheeling a rig can be a wonderful family project. Just remember to practice safety at all times and it can be an enjoyable afternoon for everyone. Component Source:
Rocky Road Outfitters Phone # 1-888-801-7271 Fax #435-783-4355
08/11/10 15:14