 with Bob Norman
Rocky Road Outfitters “Bonz” Shackles
By Alex Maslo and Bob Norman
 Rocky Road’s new “Bonz” shackles just may be the coolest shackles ever! Open the box and see the offset dogleg gloss black shackles with a skull and cross bones on them and all you can do is grin. A lot. They are much beefier than the stock Zook shackles, and provide a little more tire clearance since they’re also longer than stock. This could add a little to your ramp score also, since you’ll also be moving the axle away from the bump stop.
Follow below as we mount the Rocky Road “Bonz” onto my nasty stocker “Lockjaw”.
 We were going to take a “before” and “after” measurement to see how much was truly gained by installing the Bonz, but without a fender lip to measure, it complicated that end of it.
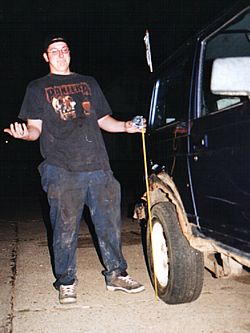
Hey, why do you think it’s called “Lockjaw”?
Step one: Soak all nuts and bolts down with liquid wrench or wd-40 so that you can break them loose. Spray them down and give them plenty of time to soak. Gather all the tools that you will need to do this project. The tools that you will need are a 14mm wrench, 14mm socket (deep), a long ratchet, a large hammer (bfh), pry bars, a jack and jack stands, and a drift. 
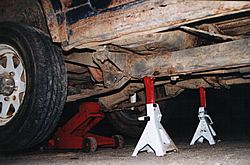 Step two: Jack the vehicle up and place the stands under the frame, so that the axle droops. You want this to happen so that you can put the jack under the axle to a just the amount of pressure on the leaf springs. Step three: Remove the nuts off the bolts on the old shackles. This is where the jack under the axle comes in handy. Then you want to make sure there is minimal weight on the leaf springs so that you can remove the bolts with the least effort. Then you might need to pound out the old bolts if the bushings have a hold on it.
 Step four: Once you have the old bolts out to the bushings, you can remove the old shackle. And begin putting on the new shackles. Step five: You want to pull apart the new ones before you put them on so that it is easier to install them. Once you have completed this repeat this procedure for the rest of the shackles.
 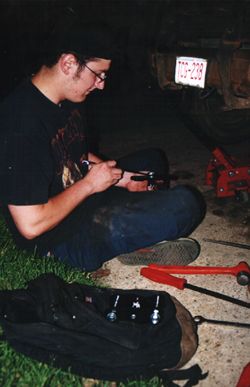 Reassembling them is just as easy. As stated above, the Bonz two vertical legs are bolted together, rather than welded, which makes putting them on a snap! No fighting with sliding them over bushings that are too tight, just loosen the bolt and they slide right on.
 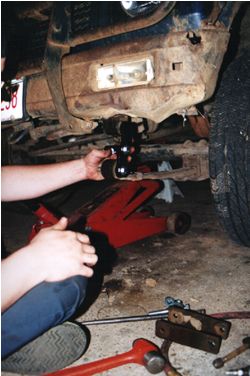 Step one: Put the outer (bolt) side of the Bonz on first, slide the bolts through the bushings. Step two: Assemble the inner side of the Bonz, aligning the bolt holes and tightening the center bolt to hold them together.
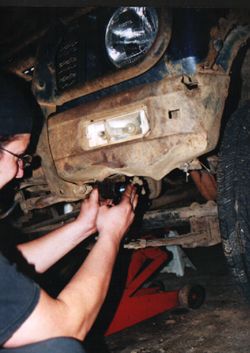
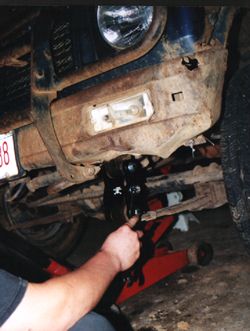 Step three: Tighten up the bushing bolts. These come with locking nuts, so don’t get carried away and over tighten them… it’s not necessary and will ultimately limit your flex. Step four: Sit back and admire your groovy new shackles. They even look good on Lockjaw!
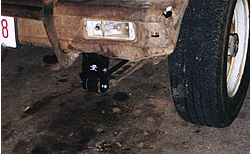
Bottom line: These are the coolest and possibly the beefiest shackles I’ve seen. A definite plus as a fashion accessory, and completely functional to boot. What more do you need?
Source: Rocky Road Outfitters
08/11/10 15:24