 with Wayne Flower
Repairing an ECU, Petroworks Style
You know the story. You have a fuel injected Samurai, but the motor just wont start, or if it does start well it will do weird and random things. That was just the case I found myself in. I found a great deal on a Samurai, but the Electronic Control Unit (ECU or ECM) was acting up, in my case the engine would run rough and randomly die. Sometimes she would start right up, other times I was stuck on the side of the road.
Not to fear, I know what is needed; a couple of bucks worth of new capacitors should have her up and running. So I tow the Samurai home, pull out the ECU and open it up expecting the issues to very obvious. No such luck, the board looks to be in great shape, no signs of leakage, and it appears the capacitors have already been changed. After talking with the previous owner I discover that this is the third ECU he has put into this car, and they all had similar problems. Sounds like its time to bring in the pros, so I give a call over to Petroworks.
I knew Gary over at Petroworks is a master at fixing these ECUs. I cruised over and Gary treated me to a repair while I watched. I was surprised by what all he goes through, and what he found.
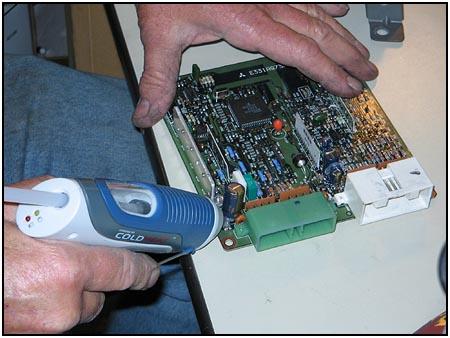
These pictures were taken while Gary made the repairs to my ECU. They are by no means a step by step process to fix your own as I do think that this level of repair is best left to the pros. When I had opened my case I had a hard time as the philips head screwdriver didnt like the screws, well it turns out they take a special bit, of course Gary had that on hand (he even replaced my screws!).
 Once Gary had the board removed from the case he got right to work on pulling out the large capacitors that start leaking acid onto the board causing all of this trouble in the first place. After those were out, he then sucked out the extra soldier from that area to inspect the pads.
 Once the basic area is cleaned up he sets about searching for the damage. (You got to love a guy that wears an electrical tape band-aid.)
Here you get an idea of some of the tools needed to make sure all of the damage is found.
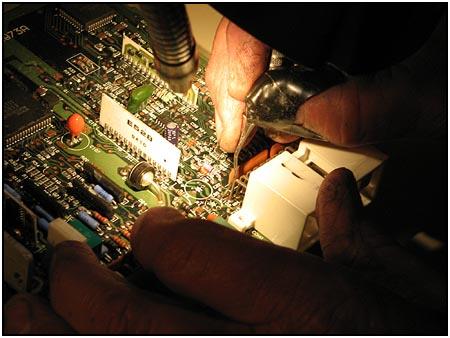 Cleaning as he inspects he uses a variety of tools as he goes.
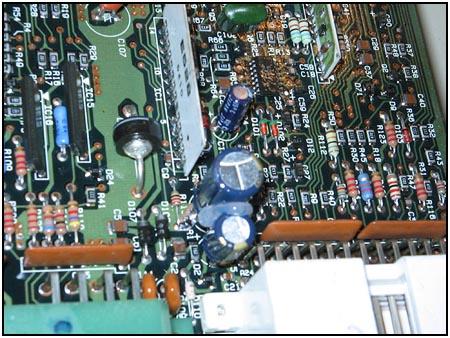
One of the items he found on my ECU:
 That little rectangular thing is a surface mount capacitor that is about to get replaced. The damaged to the copper runner on the board is also about to be repaired.
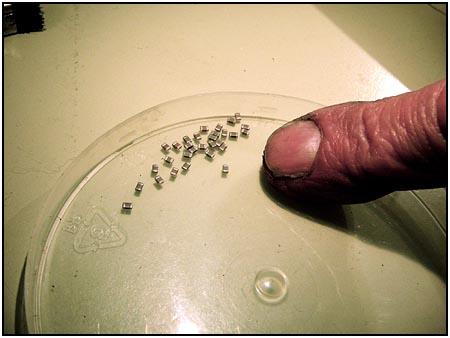 To give you an idea of how small this part is, here is a picture of Gary pointing to a bunch of them in a dish.
Gary stocks many of these tiny surface mount components for the various Suzuki ECU models.
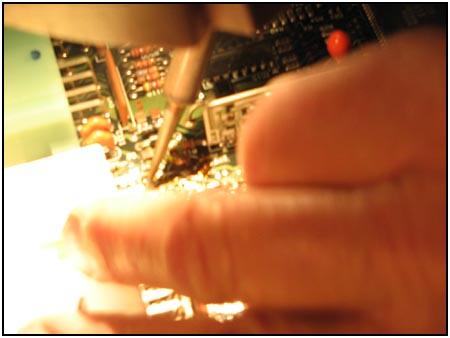 Making the repairs takes a steady hand and some good tools. Gary had to replace all of the large capacitors, one surface mount, and fix several copper runners. All of that, and I couldnt even see anything wrong with my own inspection. Some are much worse, given enough time you can have large holes in your board.
 Time for more cleaning and more inspecting… You get the idea. Cleaning is very important as any acid left behind will cause more damage over time.
 Once Gary is satisfied with his work he takes it out to one of his vehicles and tests it.
 If that passes, then it goes back inside for even more work. The board is sealed and the heat sink is cleaned.
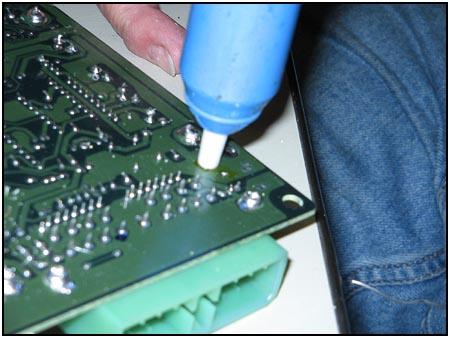
 Gary adds some glue to key components to guarantee trouble free performance in a rough environment.
 New heatsink adhesive is used. This is key to keeping the transistors cool.
 Finally the board is ready to be reinstalled into the protective case.
 Just when you thought we were past the cleaning stages, he cleans the oxidation off the harness connector.
 A last look at the major repair area before the case is closed.
Perhaps the best part is Petroworks warranties these repaired ECUs for life. Yes life. Hard to beat that!
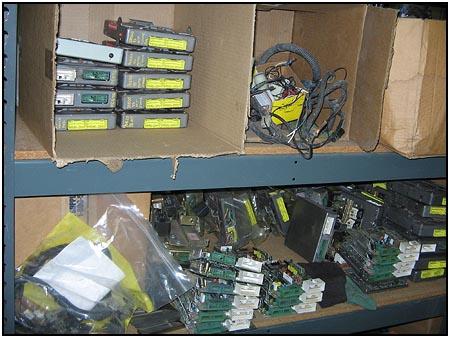 He has ECU’s on the shelf for all kinds of Suzuki/Geo vehicles. After seeing all the steps, and the attention to detail, I’m sure I will never have another problem with the ECU.
And to think I knew what was involved in fixing these things, I wasnt even scratching the surface. My newly repaired ECU has been working great, and I expect it will stay that way. I dont know of any other company that puts so much work into the repair, or offers a warranty as strong as Petroworks. Give em a call, you will be glad you did!
Oh yeah, you think this isnt a common issue? Gary has done over 1200 so far. (Story written in May 2007.)
Petroworks Offroad Products1-800-952-8915 Order Line 1-760-731-9434 Tech Line 111 W. Aviation Rd. Fallbrook, CA 92028
08/11/10 15:19:28