 with Terrina Harris
Petroworks Aluminum Dash Kit Install, Part 1

 Installing the Petroworks Aluminum Dash Kit means getting rid of the last of the show truck parts from the Samurai. Long ago in the distant past this truck was on the show circuit. I have included a picture just to prove it. Don’t you dare say anything about Cat Woman, that is my daughter. While living in Virginia, Larry and I built and showed this truck all up and down the east coast. We had not yet discovered the excitement of real offroading. About 11 years ago we moved back to Michigan and got the bug. Took the truck to the sand dunes of Silver Lake Off Road Park. What a day that turned out to be. It forever changed the future of the Samurai. Caught a proper case of off road fever if I remember right.
 After much thought about the interior of the truck we wanted a change. Larry and I decided (ok, Larry decided) to pull it all out and start over. ( I just agreed. Now I wonder how smart that was!) Seats are going away, other changes are coming. What can we do with the stock plastic and now painted dash? A phone call to Gary Munck at Petroworks and the new dash kit is on the way.
Let’s get this install started! Started with the easy screws first. 4 at each end.

View of the top of the dash from the passenger side. There are little plastic covers here. Snap them off and remove the screws.
 And more in the glove box.

Almost forgot the ashtray.
 Four more… Sounds like an exercise program.
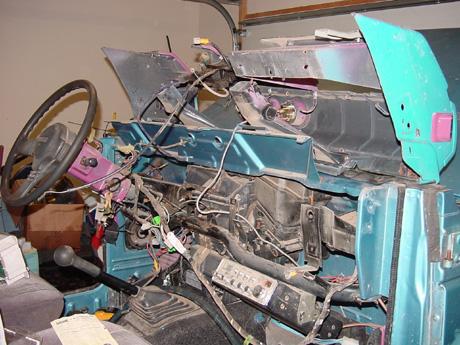
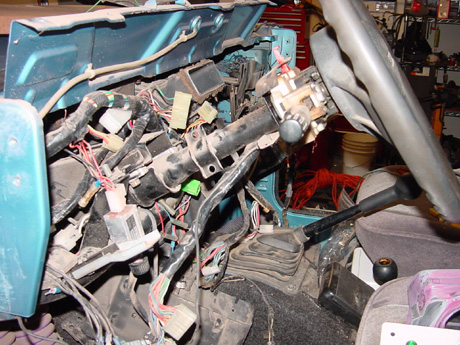
And it is out of here! Watch out for all the wire hold downs. Do not pull out the wires in an effort to remove the dash. Now you can see all the hidden wiring that has been cut and past modified over the years.

Make sure you have a plan before you cut anything. Here Larry has drawn a full pictorial of the new gauge wiring. We opted to install all after market gauges. The stock set will be swapped out for a set of VDO’s. This means a lot of wiring needs to be modified. This is a picture of the new wiring diagram. I wanted to keep all the stock components as much as possible. The new dash will be equipped with all the factory indicator lights and warning lamps.

Don’t be scared… Cut the factory plugs off.

No turning back now.
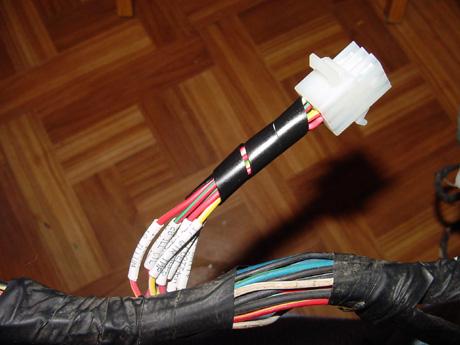
Install the new connector. Found the Molex plugs at Radio Shack. Looks better and will function much better then splices.
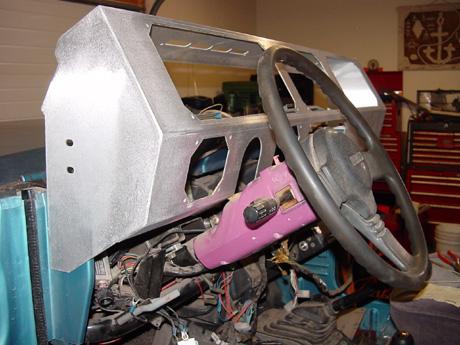
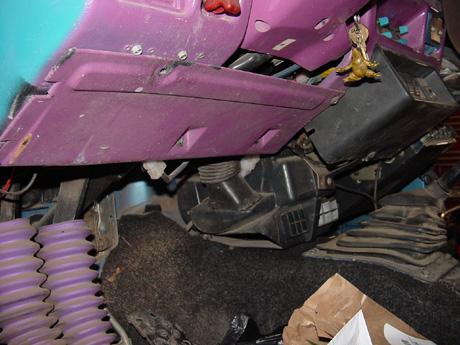
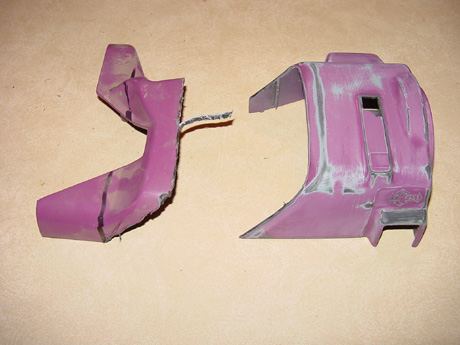
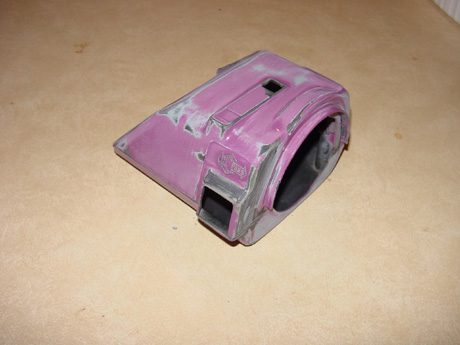 Been tearing stuff off the truck for months. I need to see how this fits. Ops, I did not see that coming. Need to modify the surround and remount the key switch to a new location. Using a hot knife I was able to fit the new dash contour.
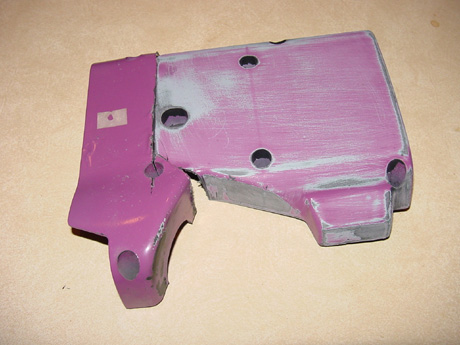
 This is a work of art and it is a perfect fit. Not sure yet how to address the glove box? Think I will leave the plate on for now. It only collects junk anyway.

We are going to be installing the custom dash panel that comes with the dash from Petroworks. The stock gauges will be replaced with a set of VDO’s. Next month we will complete the dash install. We are waiting on the rest of the VDO gauges. I hope to install the fold down windshield kit at the same time.
08/11/10 15:01:06