 with Bill Johnston
Replacing Your Hood
What happens when you are traveling down the road at about 65 mph and your hood starts to shake? You suddenly realize that your hood wasn’t shut completely and it is just a matter of moments until the safety catch fails! You try to slow down safely to pull off the road and then – KERSMACK! The hood hits the windshield and you can’t see a thing. So you pull to the side of the road and assess the damage. Looks like it’s time to replace some parts…
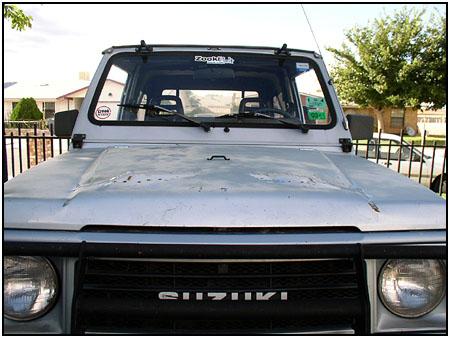 The hood had some ripples in it, but what surprised me the most was the fact that the windshield glass was still intact. It seems that the black hood stand-offs (part of the windshield fold down kit) took the full force of the blow while leaving the glass untouched. The frame was pushed in a little where the stand-offs mount, but the glass still had a tight seal.
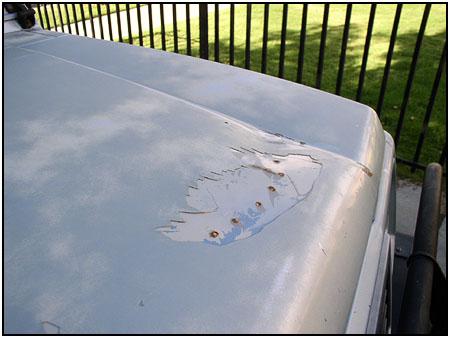 The hood didn’t fair so well as the stand-offs made some pretty nasty divots. Then I noticed the bondo that cracked off the hood, revealing some repair work that was done by a previous owner. Looked like I wasn’t the first to have this happen in this Zook…
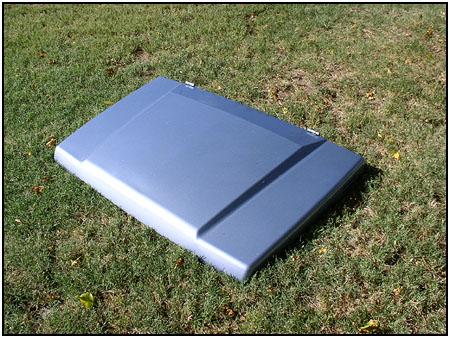
 I thought of just beating the dents out from underneath, but the underside of a Samurai hood has some reinforcement beams (as most hoods do), and they were in the way. So much for an easy fix. I got a break when I found out that Rod Ryerson from Rod’s Samurai Salvage had a clean hood in stock.
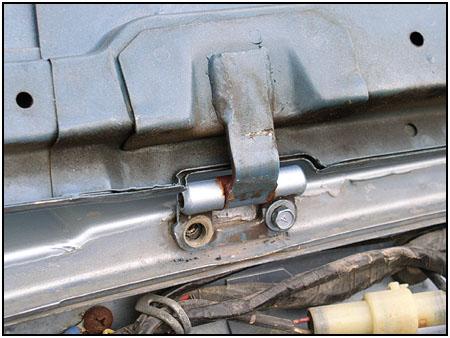
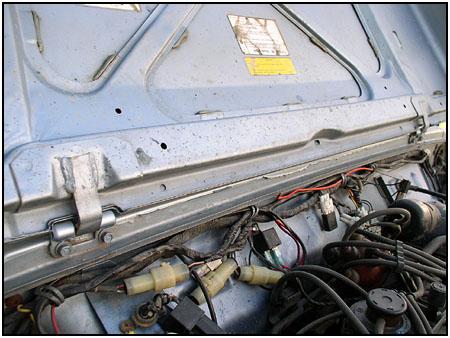 On a Samurai there are just four bolts to worry about and very little adjustment necessary. As you can see to the right the hood hinge is welded to the hood, hence no adjustment. As long as you attach the hinge to the body tub in the same spot it should line very quickly. You should be able to see where the old hood lined up, so adjust and tighten the 10mm bolts.
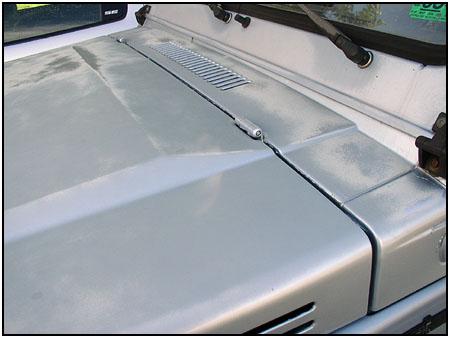
 Check the fit for proper height and make sure the hood is centered from left to right by checking that the sides line up on the body. If the latch doesn’t line up while everything else does, you can try a couple of things to adjust the fit.
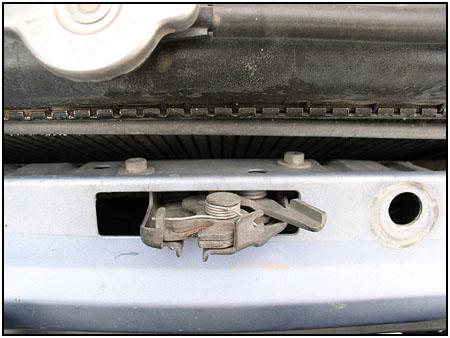
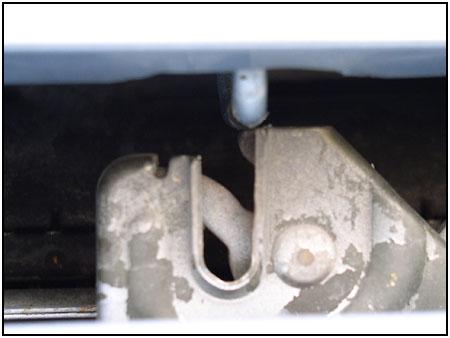
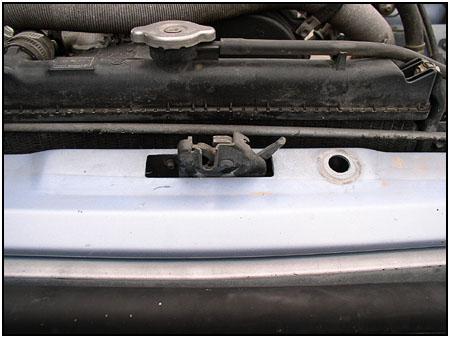 The latch mechanism looks like most others, coming up through the body in front of the radiator. When you look down behind it from above you see the two bolts that keep it in place. There isn’t very much adjustment there.
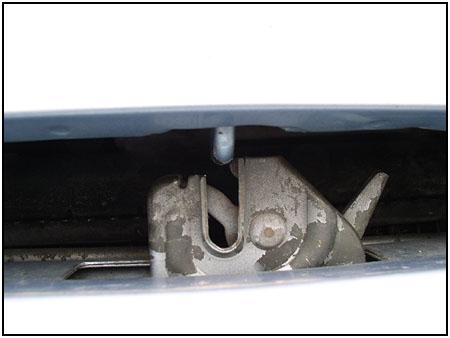
 If there is only a small amount of adjustment needed (we only needed about 1/8th of an inch) you can tap the latch bar with a hammer. If you need much more adjustment, then you have a bigger problem. Either the hood is already ‘tweaked’ or the frame is. At that point, stop and reassess any other possible damage to your vehicle before you continue on.
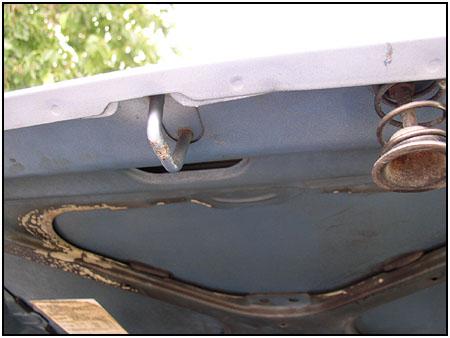
 The last step was to reinstall the tie down strap for the windshield fold down kit. We just marked and drilled the holes from below and then bolted the loop on using a little black RTV to seal it before tightening it down. I wasn’t worried about leaks, I just didn’t want any bare metal showing. Corrosion (or for those in the upper states – rust) sucks.
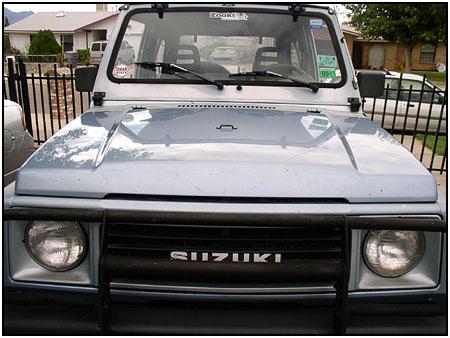
 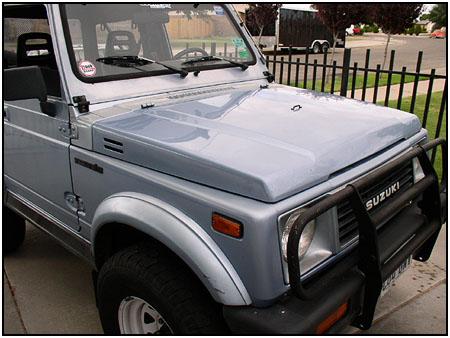 The swap took only 15 minutes and made the ‘stocker’ look very respectable again. The biggest bonus was the fact that the hood had the same factory paint color as the stocker! If your rig is just for the trails you may not be concerned with its looks. But if it is a daily driver, look around before you break out the dent pullers and bondo… Places like Rod’s Samurai Salvage can make the job much easier for an affordable price.
Component Source:
Rod’s Samurai Salvage 641-751-2468 Marshalltown, IA
08/11/10 15:02:13