 with Larry Harris
Trail Tough Full Floater Kit
I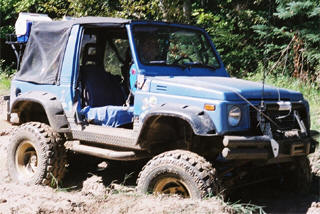 n the beginning we all had to fight the dreaded blown rear Samurai axle bearing. It was getting to be an annual event for me. Not sure of the root cause? To much mud? To many trips flat towing without taking out the rear drive shaft? The always sticking stock E-brake? Which ever one it was I knew I was darn tired of it! As I alluded to my truck is almost always flat towed to the trail and I was getting real tired of laying in the mud to remove the rear drive shaft. Why remove it you ask? The Samurai service manual tells us to “Put the T-case in neutral and the transmission in 2nd gear”. You can tow up to 150 miles like this with out stopping. So how many times have you heard ” I blew my new low range t-case gears”? My T-case must have jumped back into gear? Or it died from a lack of oil flow. All I know is it was not going to happen to my case. So the drive shaft always had to come out, and it sucks!
 So far there are at least three good reasons to upgrade to a Full Floating Axle. One of the coolest is if you break an axle on the trail just unlock the hub and it is now real easy to flat tow! Called around and had a great conversation with Brent at Trail Tough. Their kit had all the design elements I was looking for. Bolt on, new E-brake capabilities, uses stock Samurai rotors and hub components. Most important a fair price.
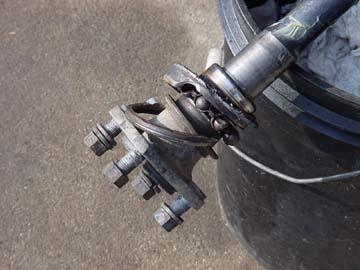
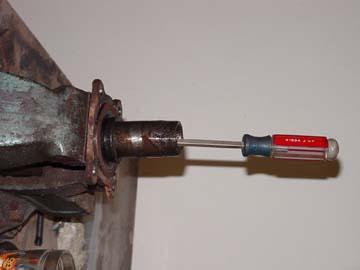
Bad Bearing!
Drivers side bearing, it never even made more noise then the tires. Didn’t know it was bad until I started the install of the Trail Tough Full Floater Kit.

Older rear disk kit.
Inspect / clean parts
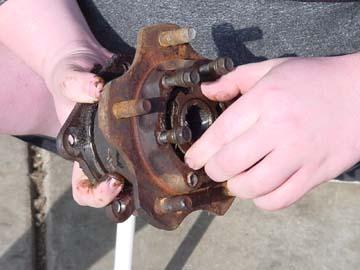
Collect all the needed parts. You will need the hub assemblies from the front end of a Samurai. You will also need the calipers and brake cables from an 80 to 82 Subaru Sedan. Make your search easy, I got all of mine from Trail Tough.
Samurai hub parts
Do not use gasoline!
After supporting the rear of the truck remove all the old components from the rear axle. You will no longer have to fight the Samurai rear axle bearing retainer. Be sure to drain the gear oil first. You will have a mess if you don’t.
Not needed anymore
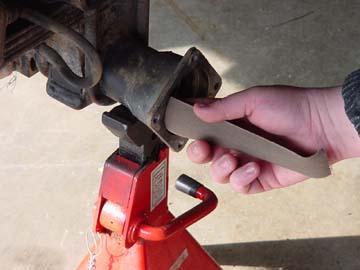
Remove rust
Clean up your stock rear housing. Makes the install go a lot better.
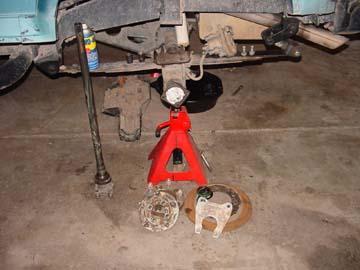
Out with the old
Still more old stuff
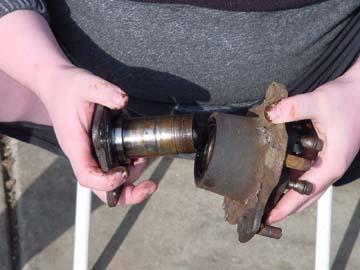
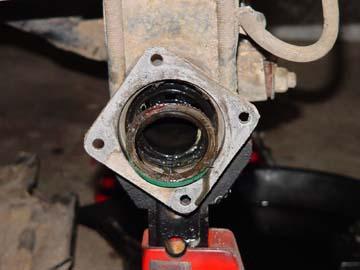
After you have all of your donor parts cleaned you will need to remove the bushing from inside of the front spindle. It is not needed with the Kit.
Stock front axle seal
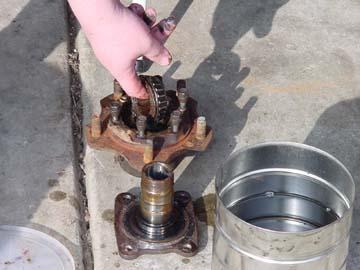
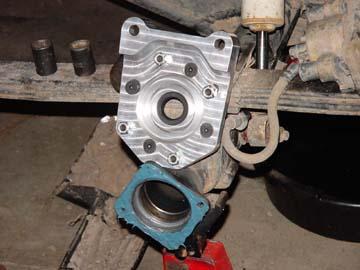
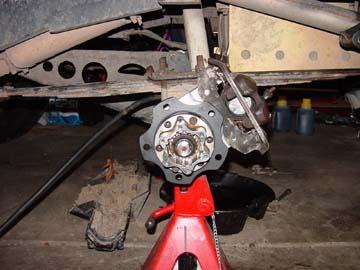
Now on to the fun part! It is time to install the new part that came with the kit. The blue is a good coating of RTV sealer. Let the RTV “tack up” then install the adaptor using the new hardware provided. Worried about ever having to replace the axle seal? Don’t it is a factory Suzuki seal. Now would be a could time to put a generous coating of grease to the inner lip of the seal. Makes the shafts go in easier and protects the seal.


This kit is extremely easy to install! All the pieces fit better then most factory parts. Install the spindles you removed and prepared from the earlier steps. Please remember to grease the seals.
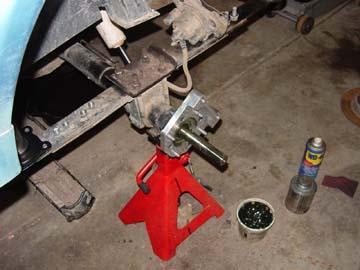
Adapter, shaft and spindle installed
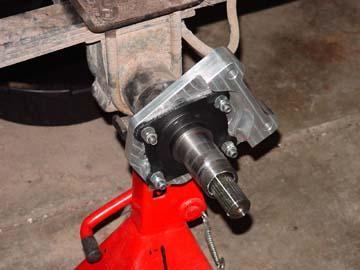
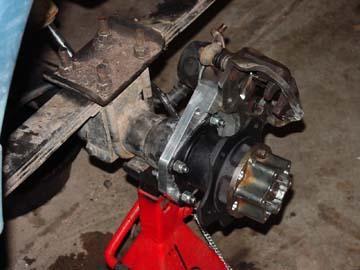
Install the axle shafts. They can only go in one way. I set the hub on so you can see how the caliper mounts to the adapter.
Subaru calipers
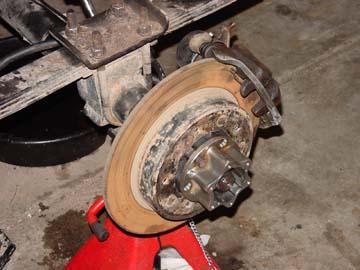
All that is left is to bolt on the lock-out, install all the items you removed for the install of the kit. I removed my 3rd member for inspection and cleaning. Fill all the fluids, bleed the brakes and off you go, or stop as the case may be 😉
This article is not meant to be used as a replacement for the instruction that ship with the Trail Tough Full Floater Kit. Many steps have been abbreviated or omitted. It is written to show how easy this kit is to install. Not shown is the installation of the E-brake cabling and brake line modifications. The adapter for the stock lever and required brake lines are included in the kit. I highly recommend you get all the required calipers, cables and small pieces from Trail Tough. This will save you time and money in the long run making the install much more enjoyable.
08/11/2010 15:11