 with Brent May
Theres Evil Inside!
Well, more like a set of Evil Twins. Twin stick transfer case shifters that is. A new product brought to you by the minds of Vince Martin and Alan Mizutani.
Now, the concept of Samurai twin sticks is nothing new, and there is already one design on the market. What Vince and Alan have done is create a totally new design, using CAD and CAM technologies they have machined the components to help ensure a long and happy life in your truck. Some of you may ask Why a twin stick in a Samurai?. Being able to use 2wd low without having to hunt for it comes to mind. Also, with a twin stick you can say bye-bye to getting your transfer case stuck in neutral out on the trail due to a bad shifter sheet. And now you have a true neutral! Plus it just looks darn cool!
The install is pretty straight forward, and isnt very hard at all. It does require some welding and bending of the shift handles, but a complete set of instructions is included with each kit to guide you through the process step-by-step. The instructions include templates to show how to properly bend your shift handles and where to weld them to the shift levers.
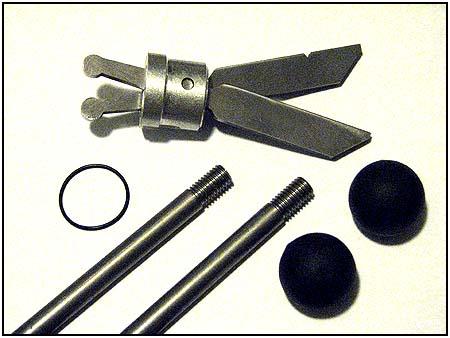 The Evil Twin kit comes with the following:
- Super strong shift levers made from 4340 alloy steel
- Machined billet aluminum bushing (replaces t-case shift seat)
- Dowel pin
- O-Ring
- Two shift handles. Handles need to be bent to shape and welded in place for your particular application
- Two comfort grip knobs
- Instructions
You will need to keep the shift tower retaining cup from your stock transfer case shifter to complete the install. Boots will be added to the later kits, but for now I plan on using a Dana 300 Transfer case twin stick boot for the interior, and a heavy duty rubber glove for the transfer case boot.
All you will need for this project are some basic hand tools. A phillips screwdriver is used to access the transfer case through the floor of the Samurai. You will also need a welder, tape measure, marking pen, a vice or something else to help bend the shifters (a torch can help), and something to remove the shift tower retaining cup. A pair of flat tip screwdrivers will work fine. If you do not know how to weld, fear not. You can just take all of your measurements, mark them where they need to go and take everything to a welding shop and have the work done there. If you do farm out the welding chores, we suggest you weld first and bend later to avoid any positioning mistakes.
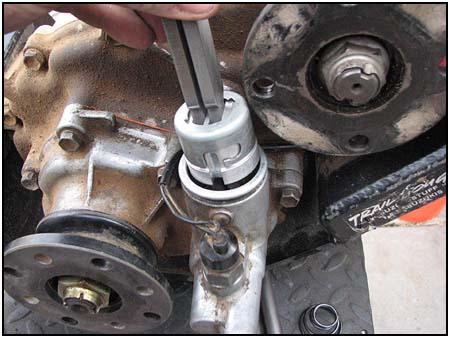
As stated earlier, the kit comes with very detailed step-by-step instructions with pictures, so I will hit the highlights here for you. You will need to remove the detent ball in your transfer case to allow the Evil Twins to work. In order for twin sticks to work properly, the two shift rails must be allowed to move independently, the detent ball keeps this from happening. If you have already done this modification (sometimes called the 2wd Lo mod), then you can just get right into the install. If not, you will need to take your case apart and remove the ball. The process for removing the detent ball has been covered here before (Twin Sticks Anyone, in the Technical Section), and can be found in various places online so I wont get into that. I will say, its not as scary as it sounds.
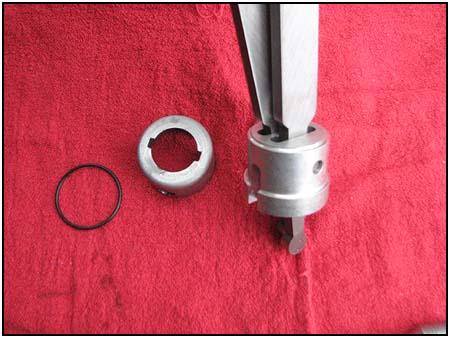
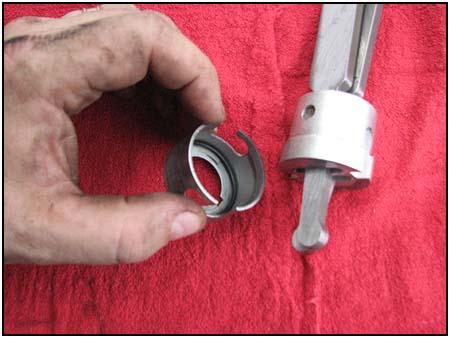
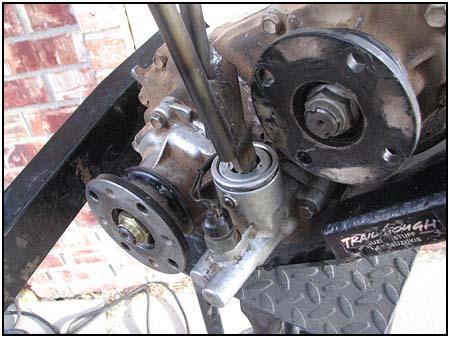
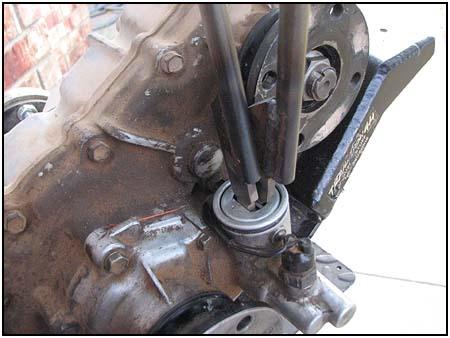
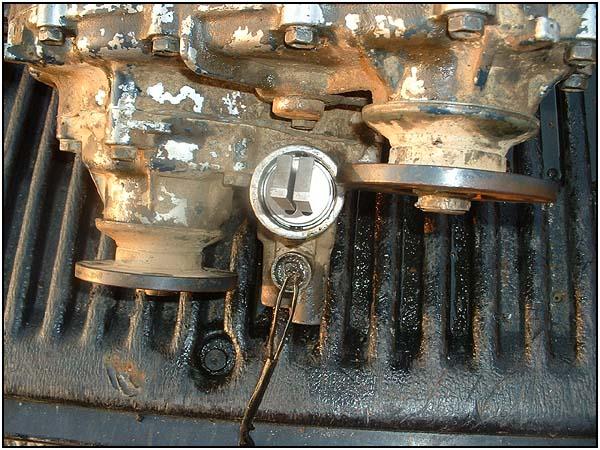 You do not really need to remove your transfer case from your Samurai to install this kit, (unless you need to remove the detent ball.) Assuming your transfer case is ready to go, your first step will be to remove the stock transfer case shifter boot, shifter and shifter sheet. Remove the retaining cup from the stock shifter and set it aside to use later. Now, you can test fit the Evil Twin shifter bushing and levers into your t-case. Make sure that you set the shifter bushing in properly. You will notice the bushings shifter slots are offset somewhat. The slots will be just slightly left of center (or drivers side) when installed properly. You will notice that one of the shift rails is notched and the other is not. The one WITH the notch is the RIGHT (or passenger side) shift rail. The flat edge of the shift rails face forward, so please be sure you install these properly as well. After making sure the bushing and shift rails are going to fit and work properly, you can mark your shift handles where they will need to be welded onto the shift rails. Dont worry, complete measurements and how the bushing and shift rails should look in the case are in the instructions. The bushing may need a bit of finesse to get it to fit properly. It is machined to fit tightly, but trust me. It will fit.
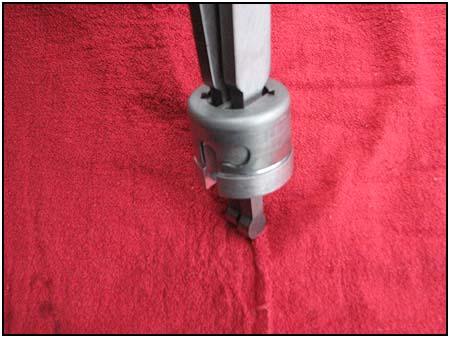
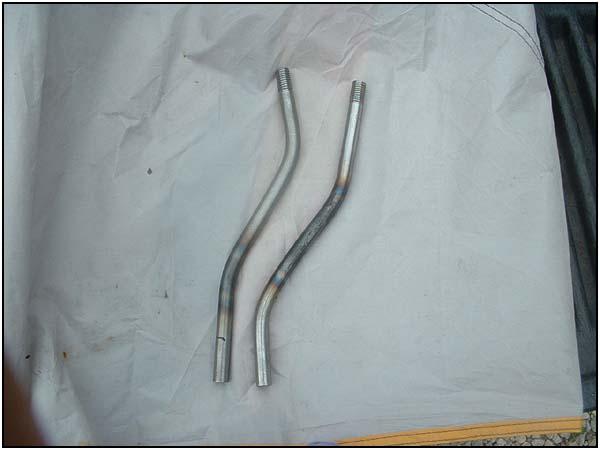
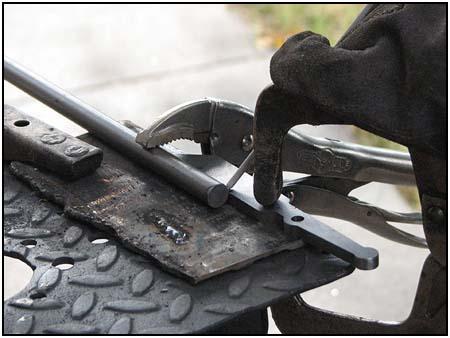
 Next, you can bend up your shift handles. Although there is a template in the instructions, I just matched my handles up to the stock transfer case shifter and it worked out great. The reason for bending them is to clear the intermediate shaft and transmission tunnel, and to make sure the shift knobs will clear each other when in use. It would be hard to shift if the knobs are hitting each other. I found that the shift handles bent easily using a vice and a cheater bar to apply enough pressure to bend them. After your handles match the templates provided (or in my case, the stock shifter),
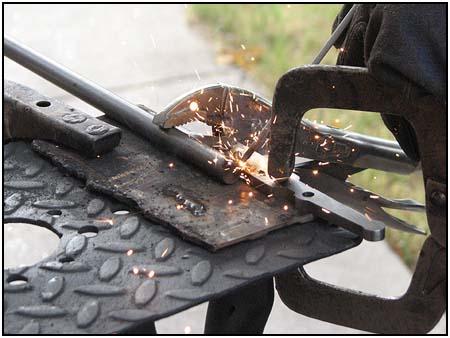
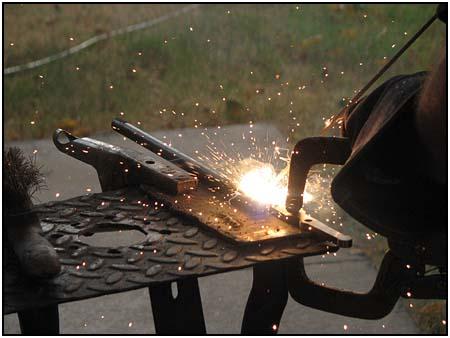
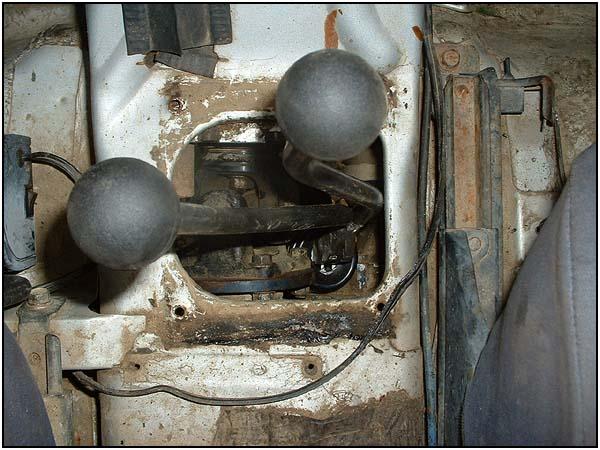 your ready to mark the handles for welding. Mark the handles per the instructions and weld them on (you can tack them in place inside the Samurai if you like, then finish welding them outside of the truck). Make sure that when you weld them you off set them to the outsides of the shift rails. This will allow enough clearance for the handles to work properly. Grind any welds as needed. Reinstall the shifters in the shift tower bushing and make sure you still have proper clearance. If you do, your ready to go. If not, make adjustments in the bends until the shift handles fit right and then your set. This is by far the hardest part of the project, so just take your time and youll be fine.
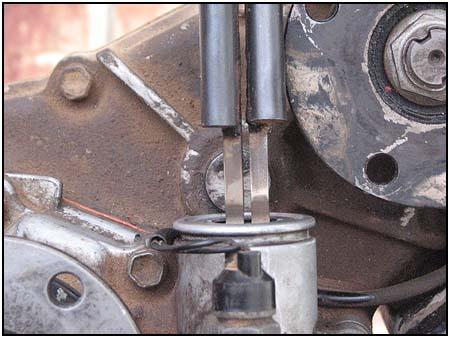
 It is up to you which way you assemble your shifter handles (weld first or bend first), but after bending and welding your shifters to the rails, its time to put everything back together and do the final install. (dont forget the O-ring and factory retaining cup ).
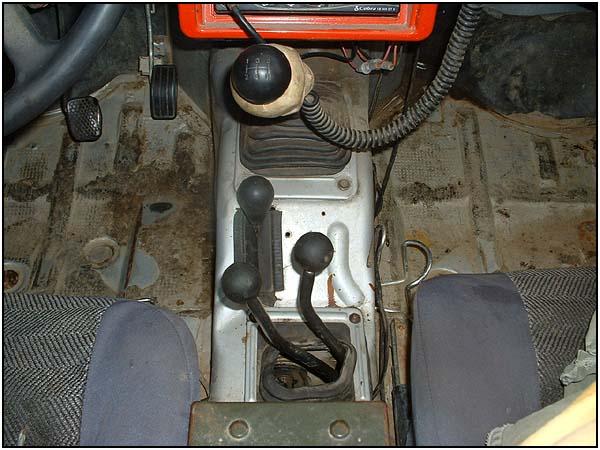
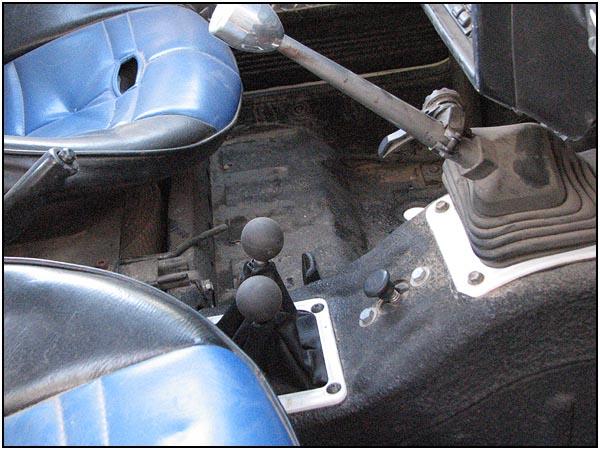
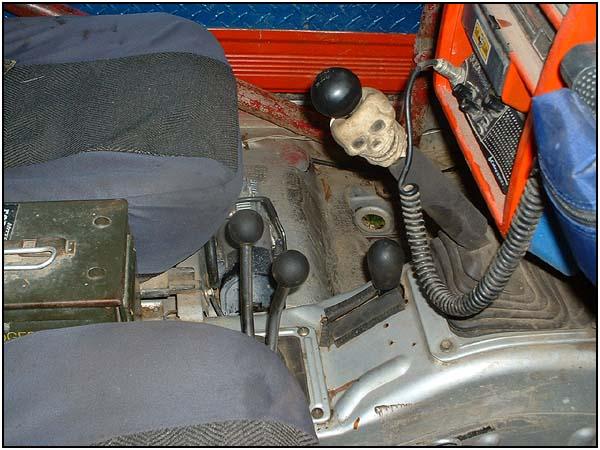 As stated earlier it will be tight, but everything will fit. Once everything is back together the boots are installed and the shifter handles are screwed on, you are now ready to try out your new Evil Twin. The drivers side will be Low-Neutral-High and passenger side is 2wd-4wd.
One added bonus that you need to be aware of. When shifting a stock transfer case, putting the single shifter in neutral will lock the front and rear output flanges (and in turn, both axles) together. This is because although the transmission is now disconnected from the transfer case, the case is still in 4wd. With the detent ball removed, you can now shift into neutral AND 2wd and it will give you a true neutral.
Its a lot of fun, and pretty easy to figure out what gear you are in once you have the pattern figured out. Vince and Alan are still working out the shifter boots, both inside the cab and on the transfer case itself. They should be available soon. You can use part of a rubber glove on the transfer case for now, but Vince and Alan will keep you informed as to the schedule for their boots. Now, get out there and enjoy your new Evil Twins!
 Component Source:
ZukEvilTwin.com sales@zukeviltwin.com
08/11/10 15:12:27