 with Larry Harris
Needed a new bumper, need a place to mount a full size spare and gas can. Know I do not want to reinvent the wheel so to speak. I will let someone else to all the engineering and the construction. It has to be bolt on. I gave Calmini a call, after all I have their front bumper and have beat the heck out of it and it is still hanging on with no damage to the front of the truck. I knew the new style Rear Swingaway Bumper would be of the best quality and do the same for the rear. No brainer, placed the order. With the installation of the new rear bumper I now have tow points front and rear, not that I ever get stuck 😉
INSTALLATION OF NEW CALMINI REAR BUMPER
1, Unplug wiring on rear tail lamps. Remove factory rear bumper, Remove lamp assemblies from stock rear bumper and save. 2. Install new CALMINI rear bumper without the swing out “A” frame attached. ‘A frame will be installed after new rear bumper is secured to vehicle. 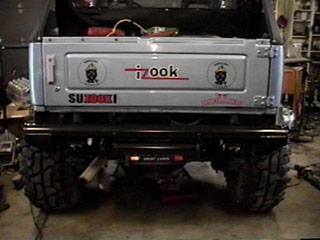 3. Install 1/2″ bolts, nuts and washers through frame holes. Use the 2×2 square 3/16″ backing plate on the right side (passenger side). This must be used to ensure proper reinforcement and minimize frame flexing.
 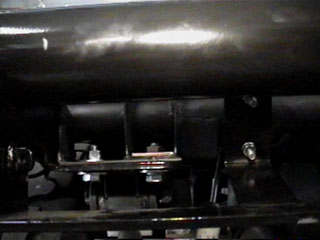 4. Install 2″ I.D. U-bolts around rear frame cross-member and through the corresponding holes in bumper bracket, Secure with 5/16″ nuts and lock washers. Next, install factory tail lamp assemblies using #8×32 screws.
 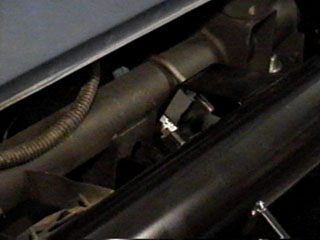 PREPARATION AND INSTALLATION OF TIRE “A” FRAME 1. Install the spring and the steel latch pin into the sleeve on the “A’ frame. Install the 3/8” threaded rod and the ball knob. (Pre-lube the latch pin with grease to ensure smooth operation),
 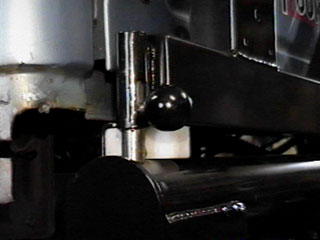 2. Install the pre-drilled white DELRIN latch block using the 1/4″x20x1,5 phillips head bolt. (The DELRIN block only latches when mounted in the correct position.)
 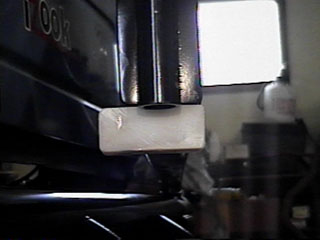 3, A license plate frame is provided, Install anywhere on the “A” frame, Drilling may be necessary. 4. Install optional 3rd brake light with corresponding bracket. Use #14 tek screws to secure bracket to “`A” frame, (All electrical wiring required to make the 3rd brake light work must be performed by the installer).
 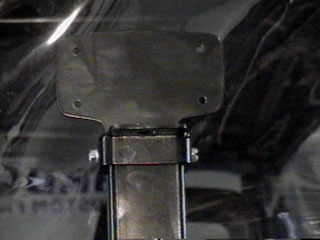 5, Mount the `A” frame to the bumper support shaft, Secure it to the shaft using the large black 3/16″ washer and 1/2 bolt, Tighten to 20 ft Ibs.
  6. Lock the latch pin into the hole in the bumper to check fitment of all components, 7. Install spare tire hub to the `A” frame using 1/2″ bolts, nuts and washers. Mount your spare tire with the new T-handle and tighten securely. We recommend you use a wheel lock lug on one or more of the studs to guard against loss or theft of your spare tire.
  SECURE ALL HARDWARE, CHECK LATCH PIN AGAIN BEFORE DRIVING VEHICLE TO ENSURE SAFETY. TIGHTEN ALL HARDWARE AGAIN AFTER 50 MILES.
Source:
CALMINI Products, Inc 6951 McDivitt Dr Bakersfield Ca 93313 Tech Ph: (661)398-9500 Fax: (661)398-9555 Web Site: http://www.calmini.com Copyright 2000 CALMINI Products, Inc
08/11/10 15:06